

6 Tips On Writing Your First Crochet Pattern
“Creativity is a Combination of Discipline & a Childlike Spirit”
If you’re new to designing crochet items and want to see how we kick off our process, we’ve put together six steps to help you dive in. Designing is an ongoing adventure, there’s always something new to learn and every designer develops their own style and routine.
We believe in lifelong learning and still consider ourselves beginners. These tips come straight from the actions that helped us most when we first started, and we hope they guide you as you begin your own design journey.
Now lets get into it!
1. Learn How to Read Different Types of Patterns
This is one of the most important steps that you can take to learning what is needed to communicate your ideas to another person. It is definitely recommended to learn how to read written patterns, diagrams and tables. You will come to find that we often communicate and interpret instructions in different ways, so it’s always helpful to get a good feel of how well you understand another designer’s instructions.
To gain some experience in reading patterns, there are thousands of free patterns available. You can search for free patterns on Pinterest, Ravelry and also on many websites like Lovecrafts, Yarnspirations, LionBrand and WeCrochet. We also have a free plant hanger written pattern on our blog if you’d like to try it out here.
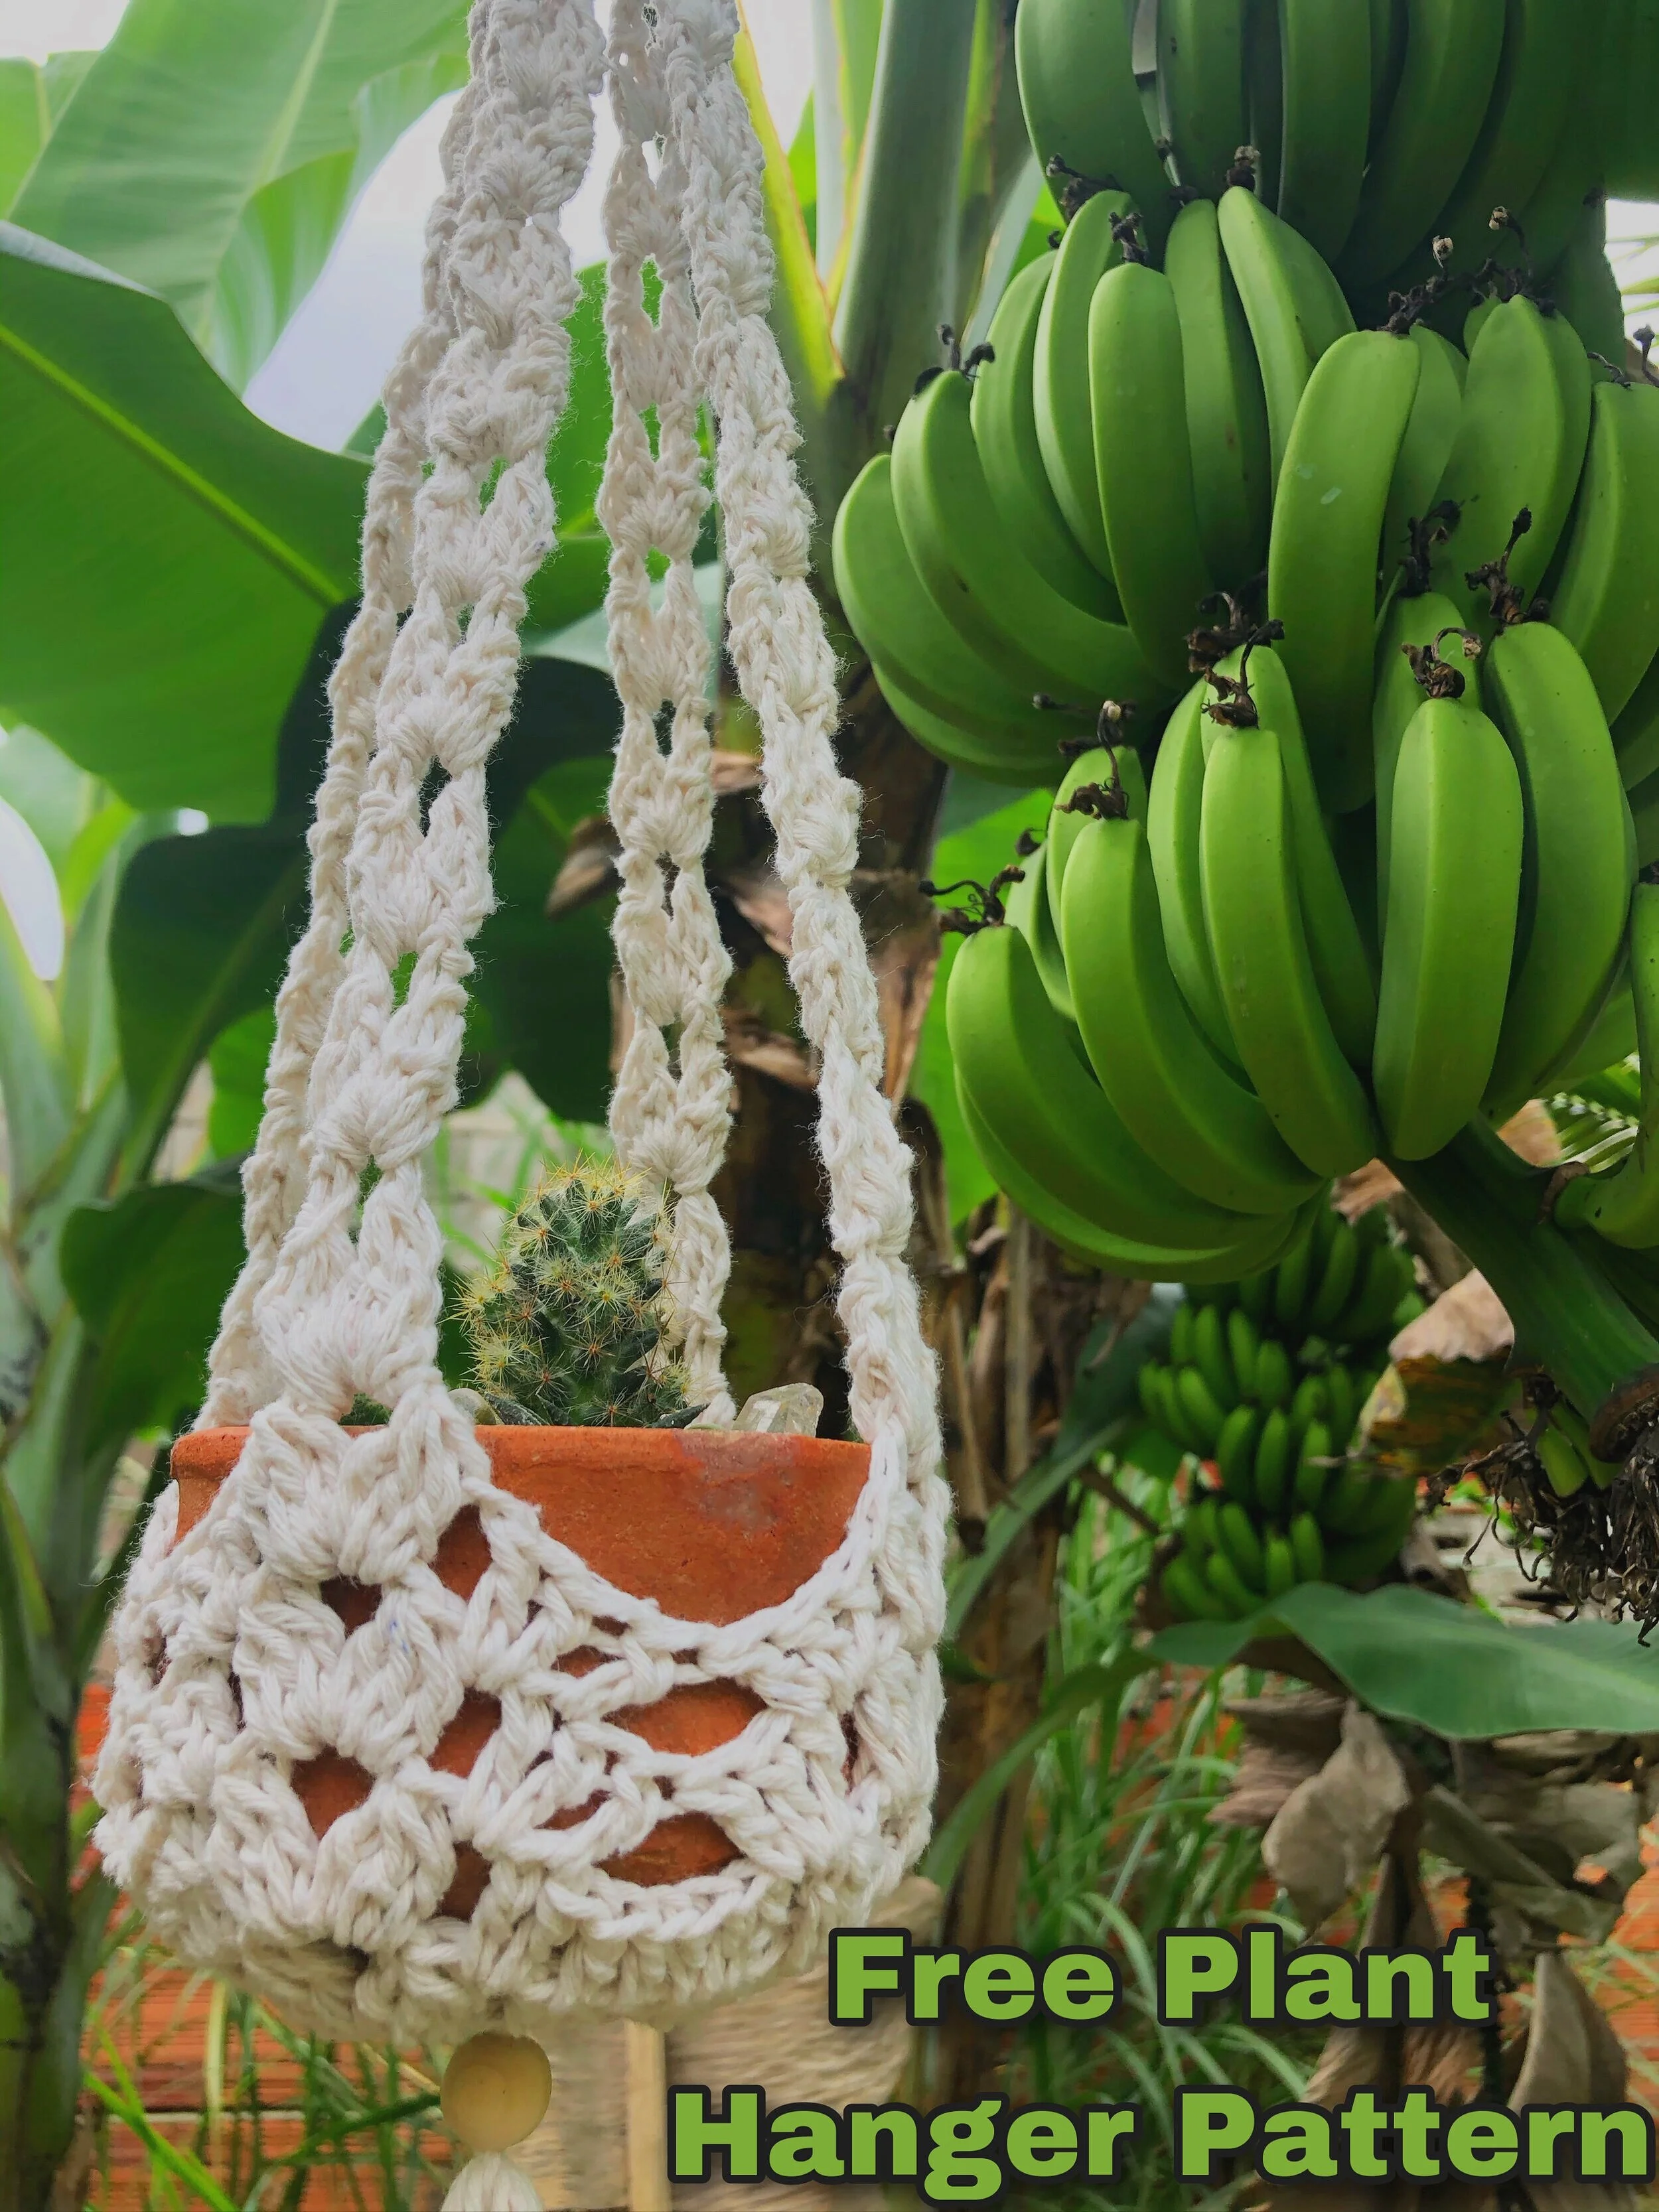
Boho Plant Hanger Crochet Pattern
Here is a free written pattern available right here on our blog!
Once you’re comfortable reading different kinds of crochet patterns, you might crave a more interactive space, somewhere to swap tips, make friends, and even help shape new designs. Plenty of designers need testers to fine-tune sizing and instructions. Testing a few patterns before I tackled my first design gave me a clearer view of the whole process and led to some great friendships.
How to Find Tester Calls
Follow the hashtags #testercall and #crochettestercall on Instagram. Designers post there whenever they’re recruiting crocheters to try out a fresh pattern.
Common Expectations
Designers usually outline a few ground rules. Typical ones include:
Public, crochet-focused profile – so they can tag you and share your progress.
Meet the deadline – or let the designer know early if you need more time.
Limit overlapping tests – juggling too many can strain your hands and your schedule.
Give clear feedback – point out confusing steps and note any sizing tweaks.
Provide quality photos – crisp images help the designer market the final pattern.
Respect the pattern
A designer’s work is their intellectual property. Feel free to sell finished items or gift them to friends and family, but never share or copy the pattern itself. They’ve poured a lot of effort into it—honor that work.
“Recognise that every interaction you have is an opportunity to make a positive impact on others.”
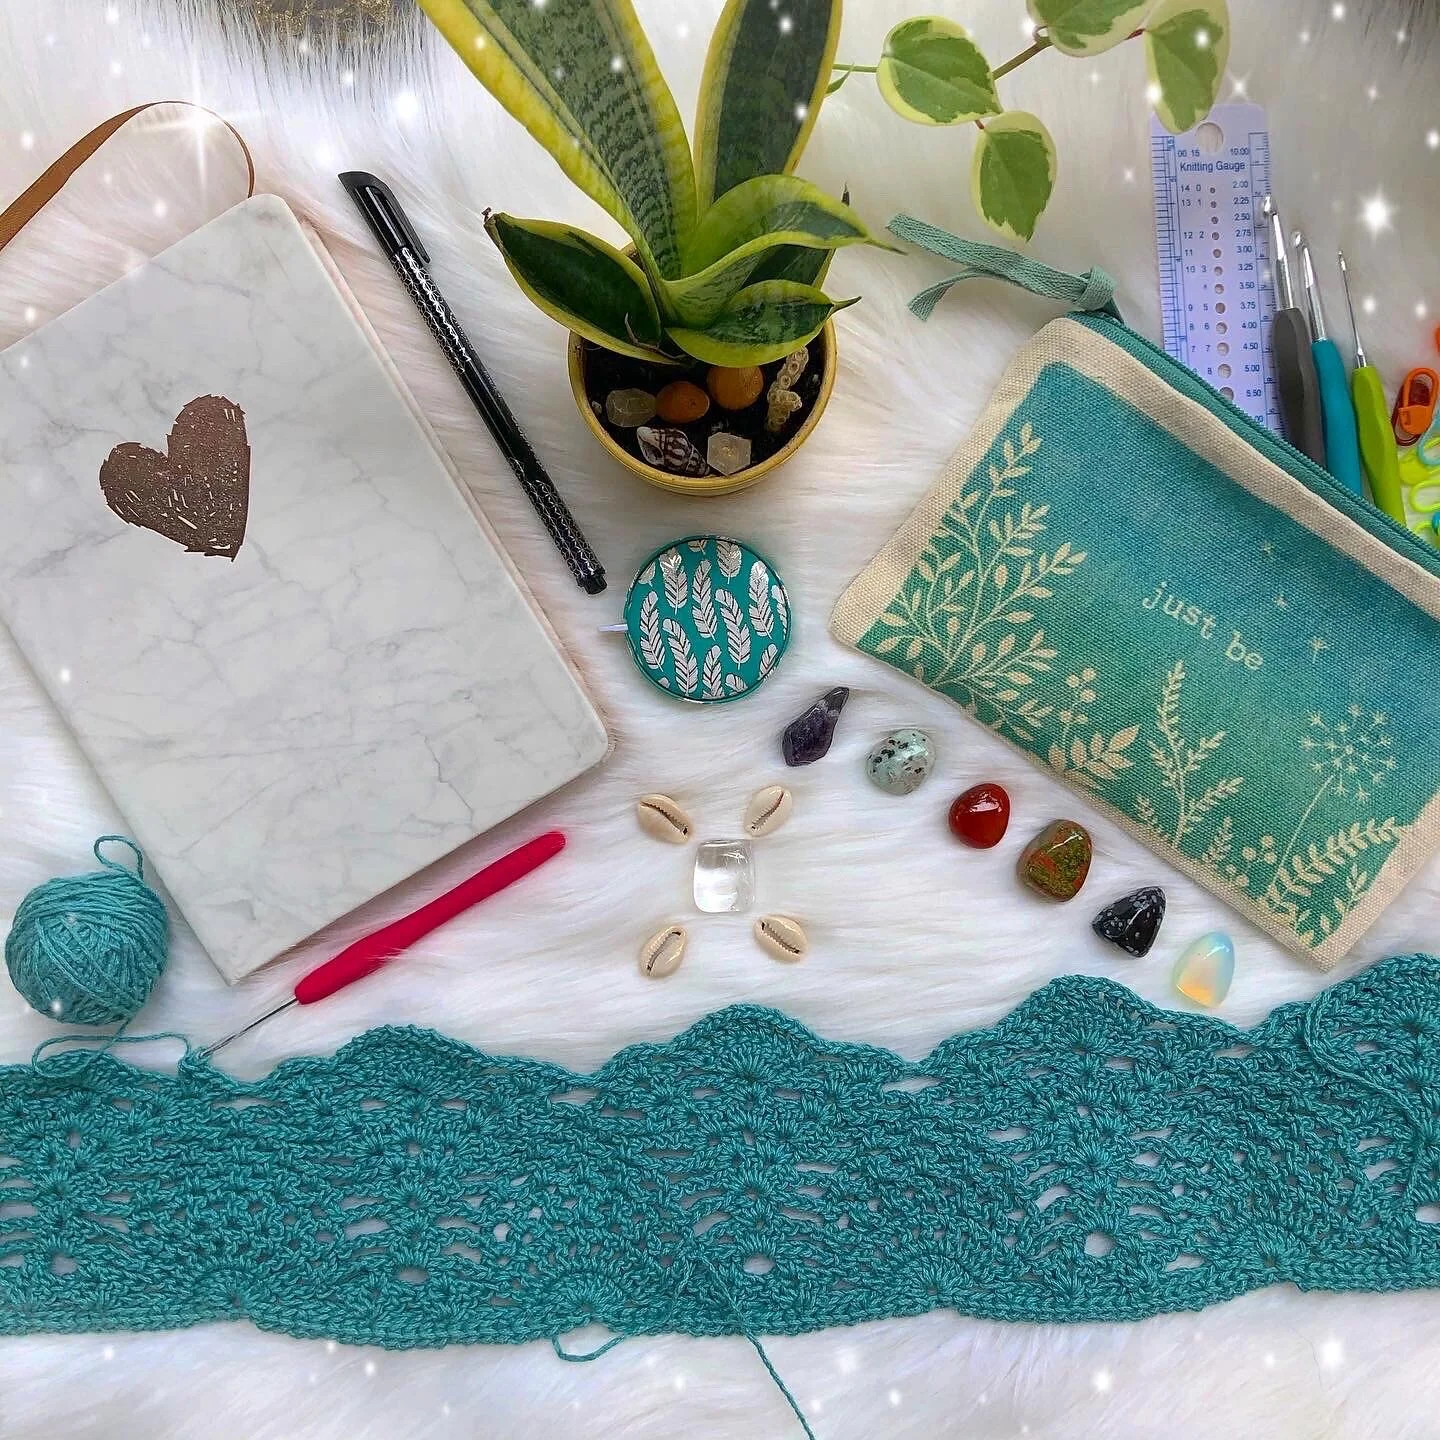
Organize Your Crochet Tools
Get a design journal and storage for your tools and yarn. Also find a relaxing space to create!
2. Find Your Niche
In the beginning of our crochet journey, we opted to make custom orders or ready made items that we thought people will love! For us, customers mostly asked us to create things out of our comfort zone or something that we may not necessarily know how to make as yet. This can be good to challenge yourself to try something new and you may even begin to love creating those items!
We have created lots of different items for customers like beanies, earrings, handbags, book bags, intricate garments, and the list goes on! I basically made whatever the customer desired and i found that this lead me to feel very unmotivated and uninspired as i was creating many things that I didn’t really love to make. However, this also allowed me to identify exactly what I enjoyed creating the most!
This may not be the case for everyone, as I do know some makers who love to create what their clients want specifically. That is amazing if you are passionate about this and if it gives you even more motivation to create for your customers!
However, if you would like to shift into designing instead of making custom orders, it is important to do what you enjoy! And create what YOU would love to make, wear and use! This will keep your creative juices flowing!
Once you figure out your niche which is what you will genuinely will enjoy creating, you can start with the design process!
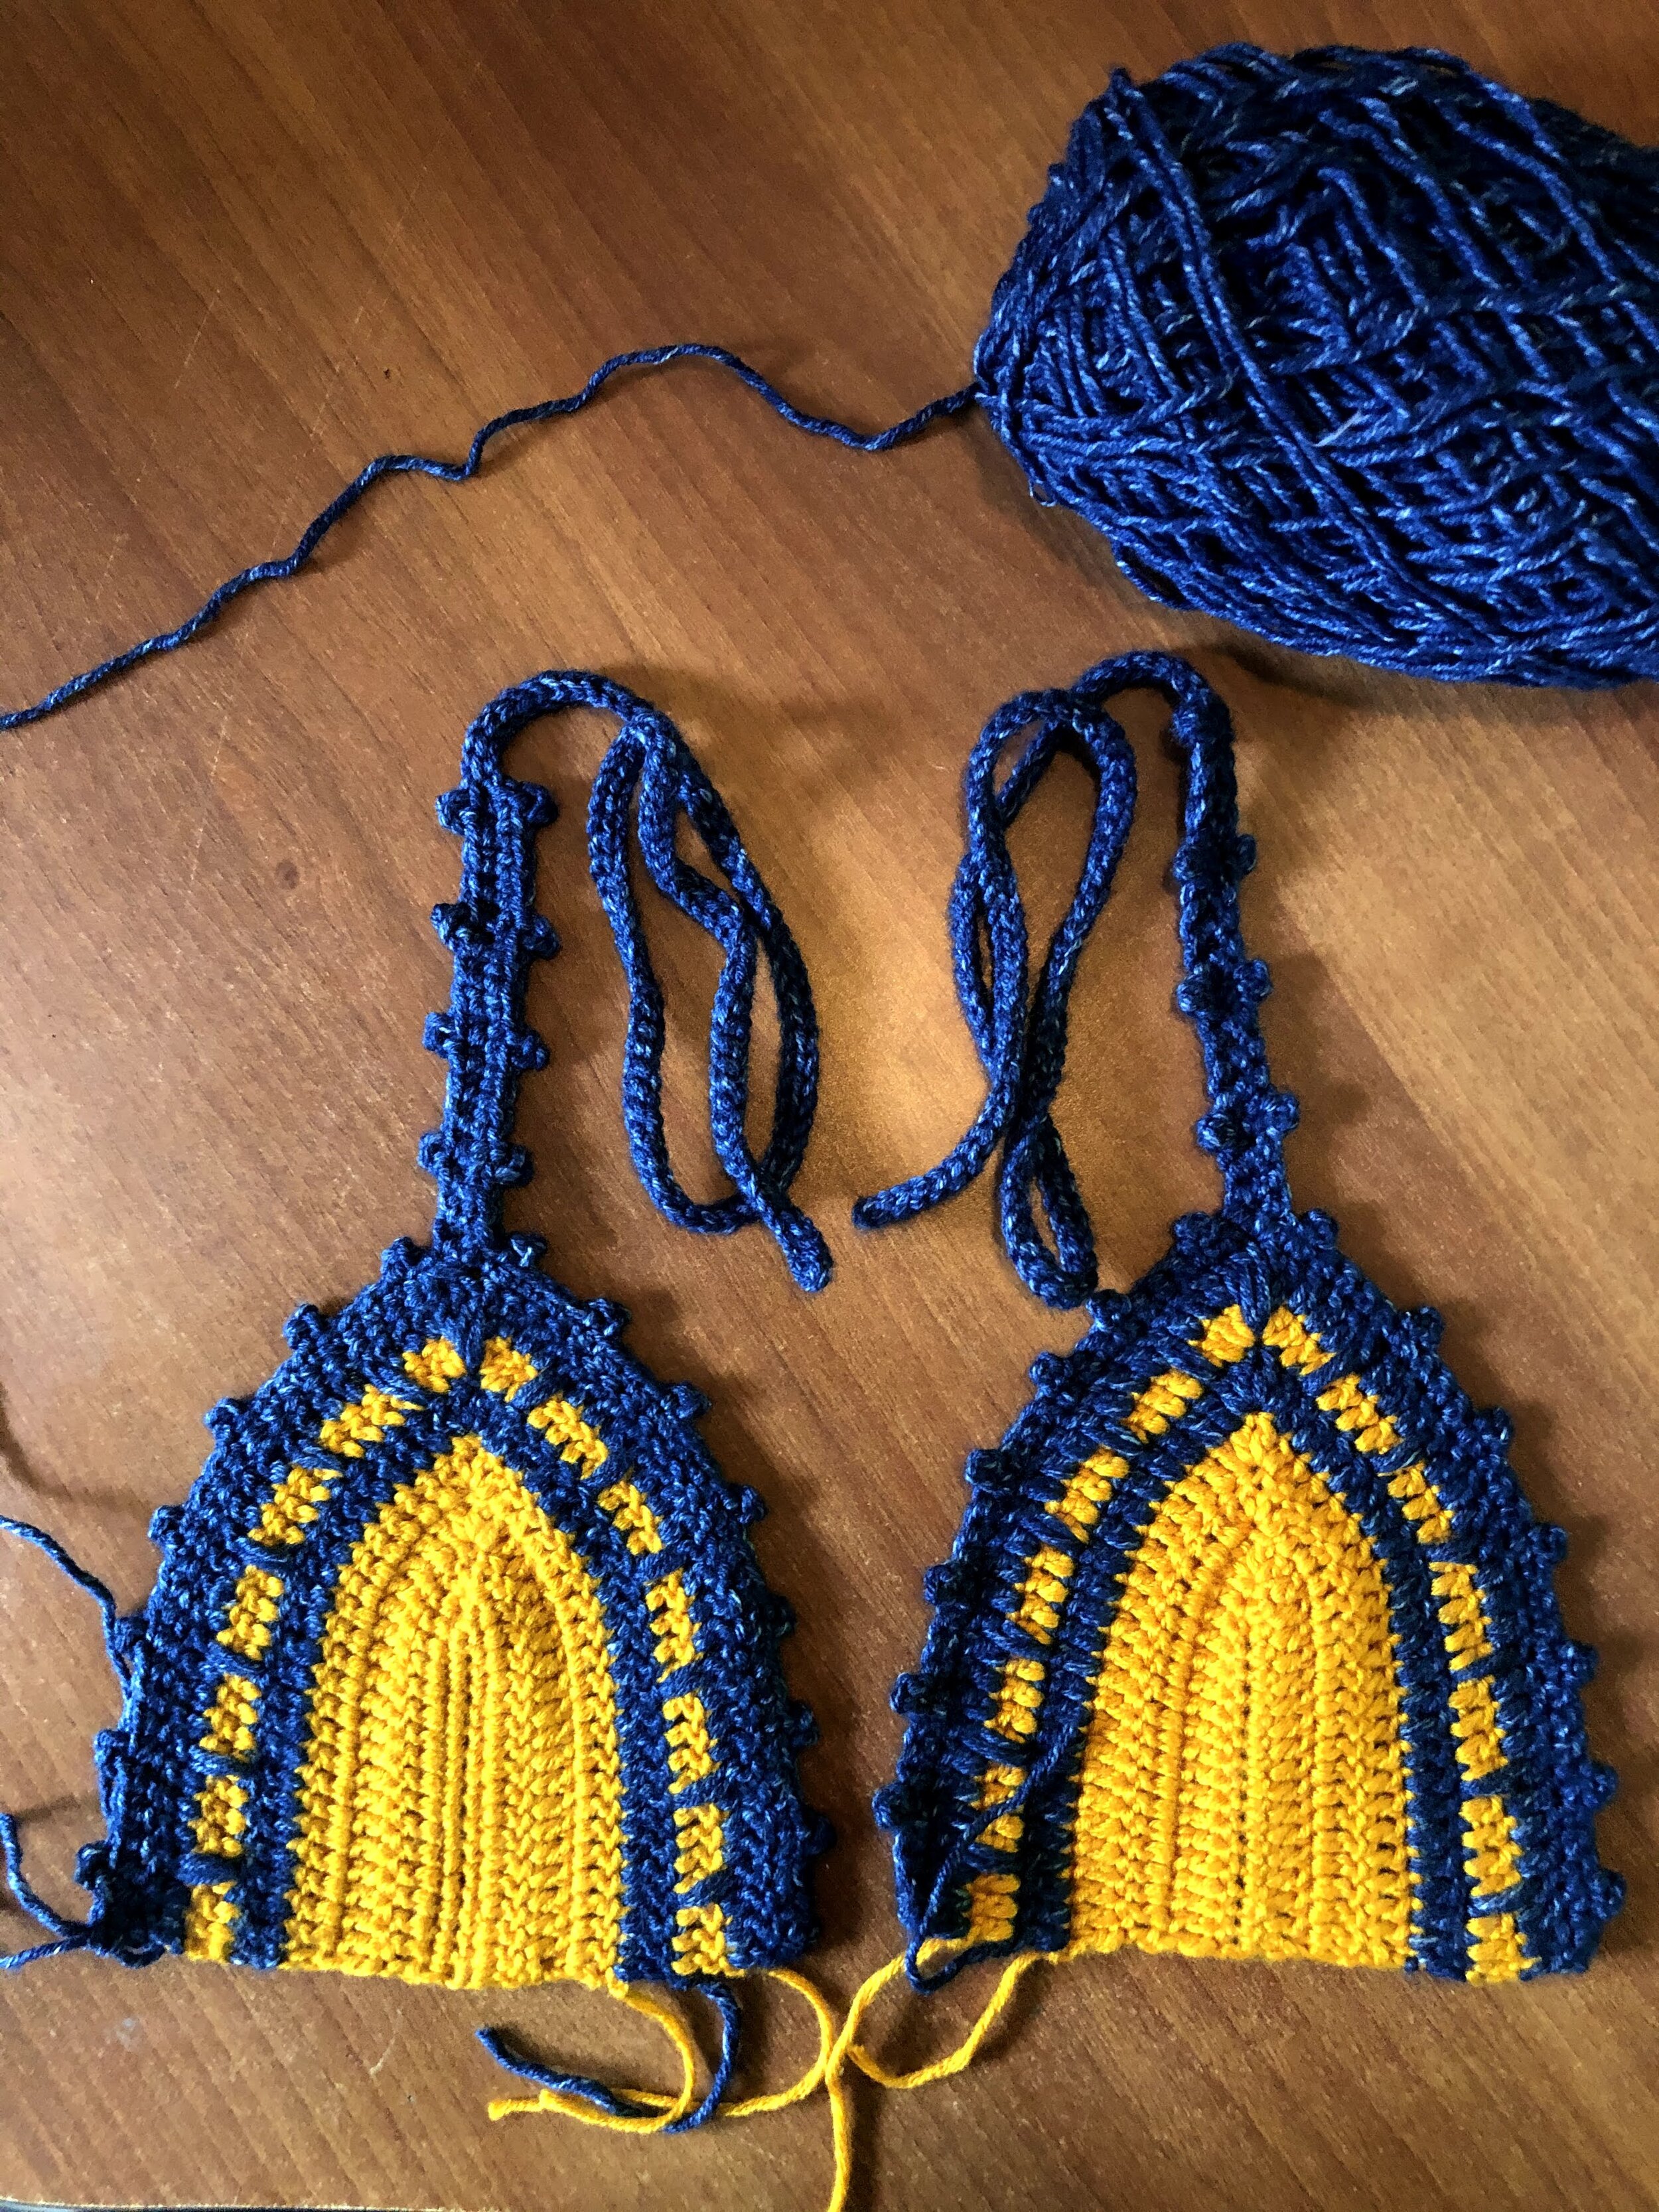
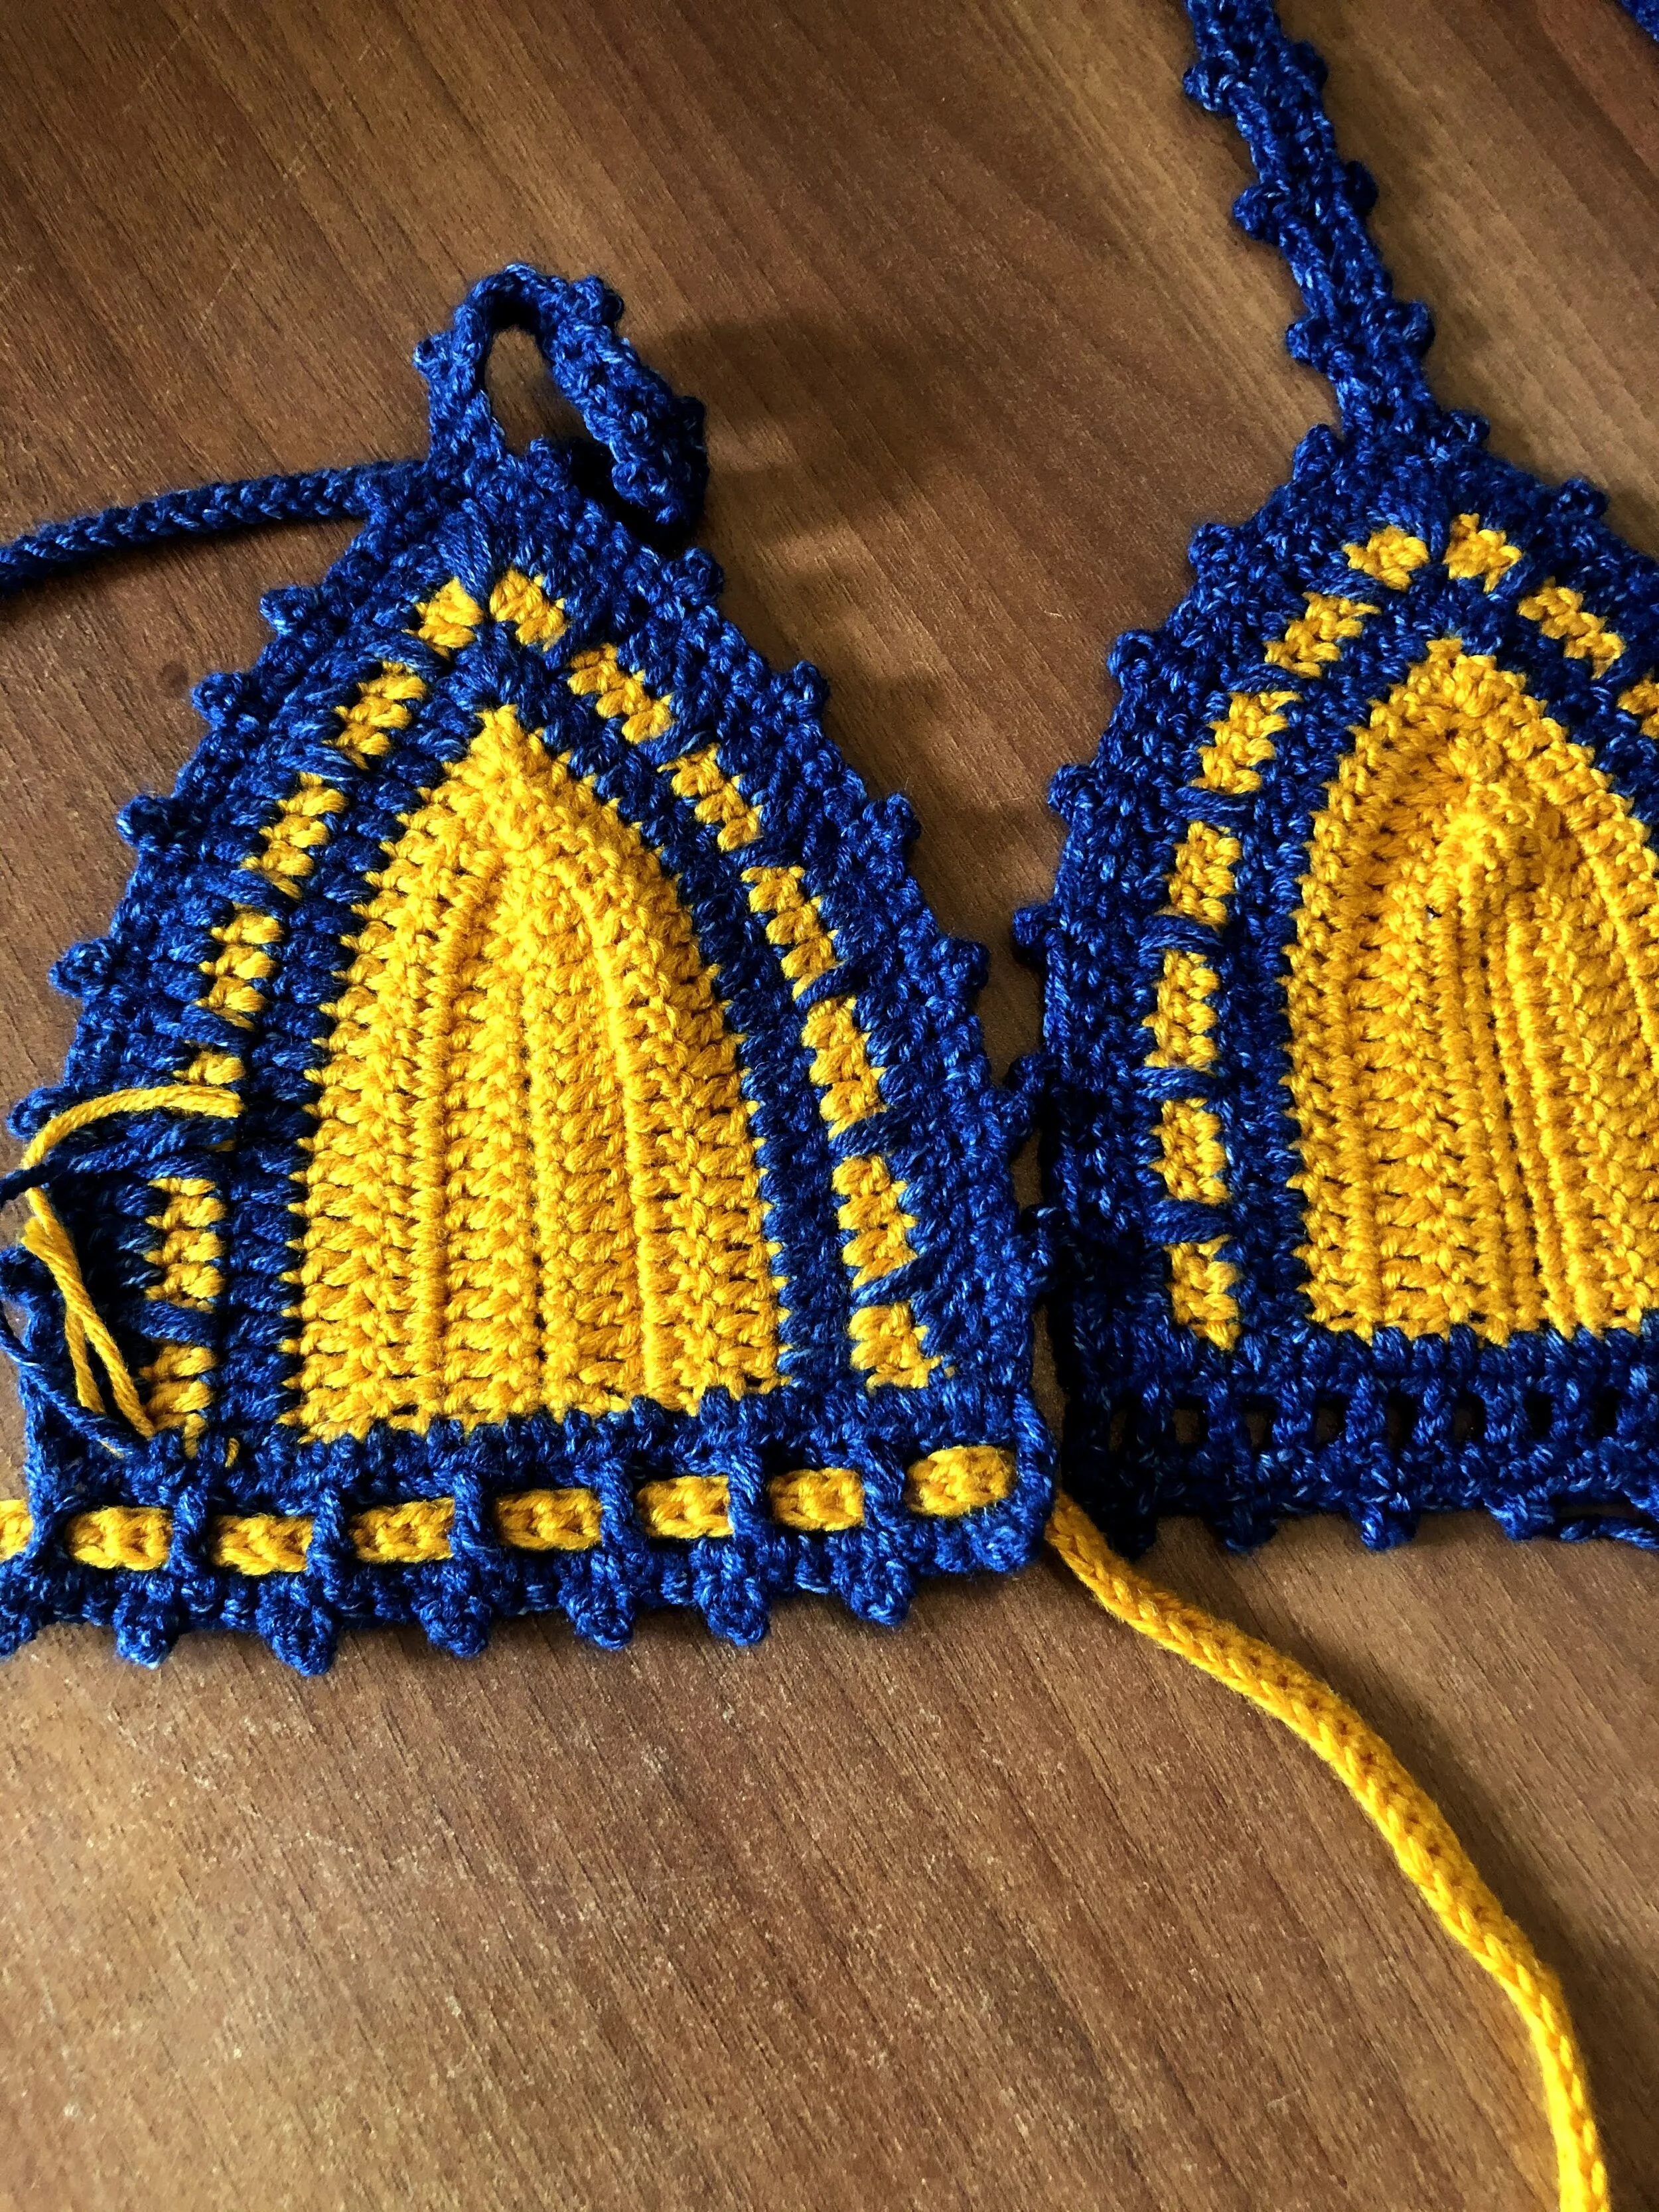
For my first design, I really wanted to create a unique bikini top as I live near to the beach and I love swimming in the sea!
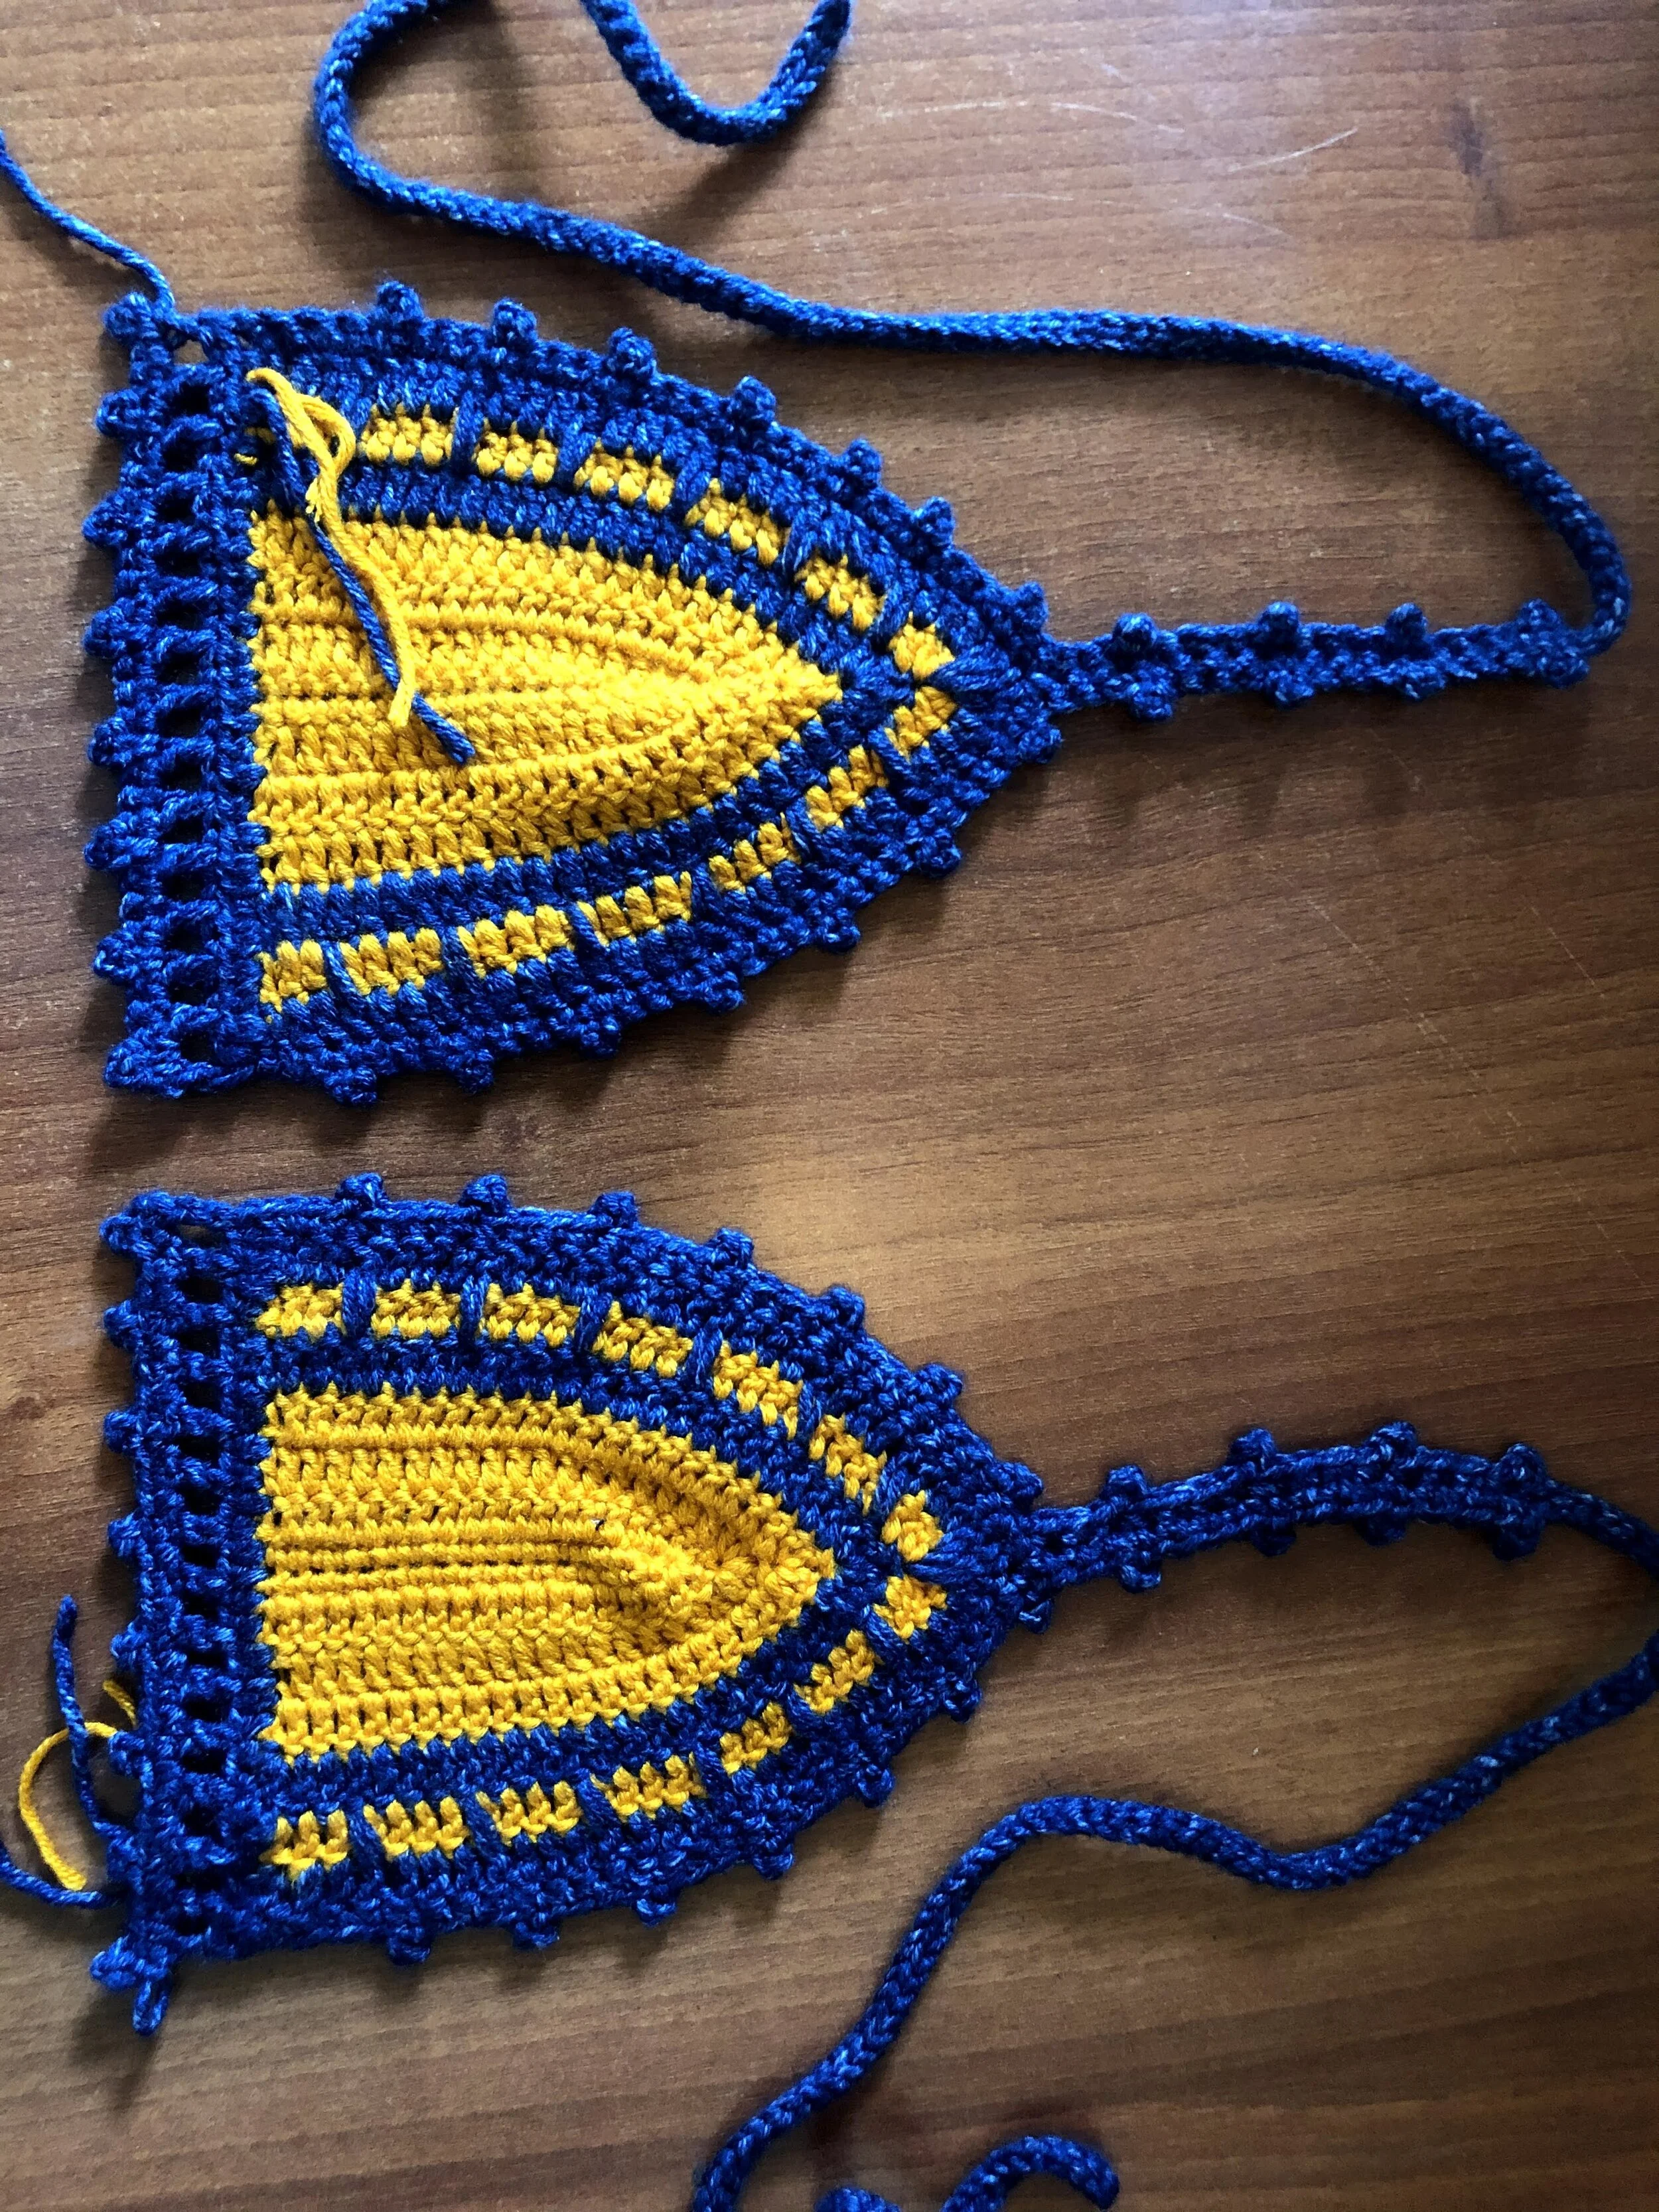
Here is my first crochet pattern I created. I named it after the beautiful island where I was born, Trinidad!
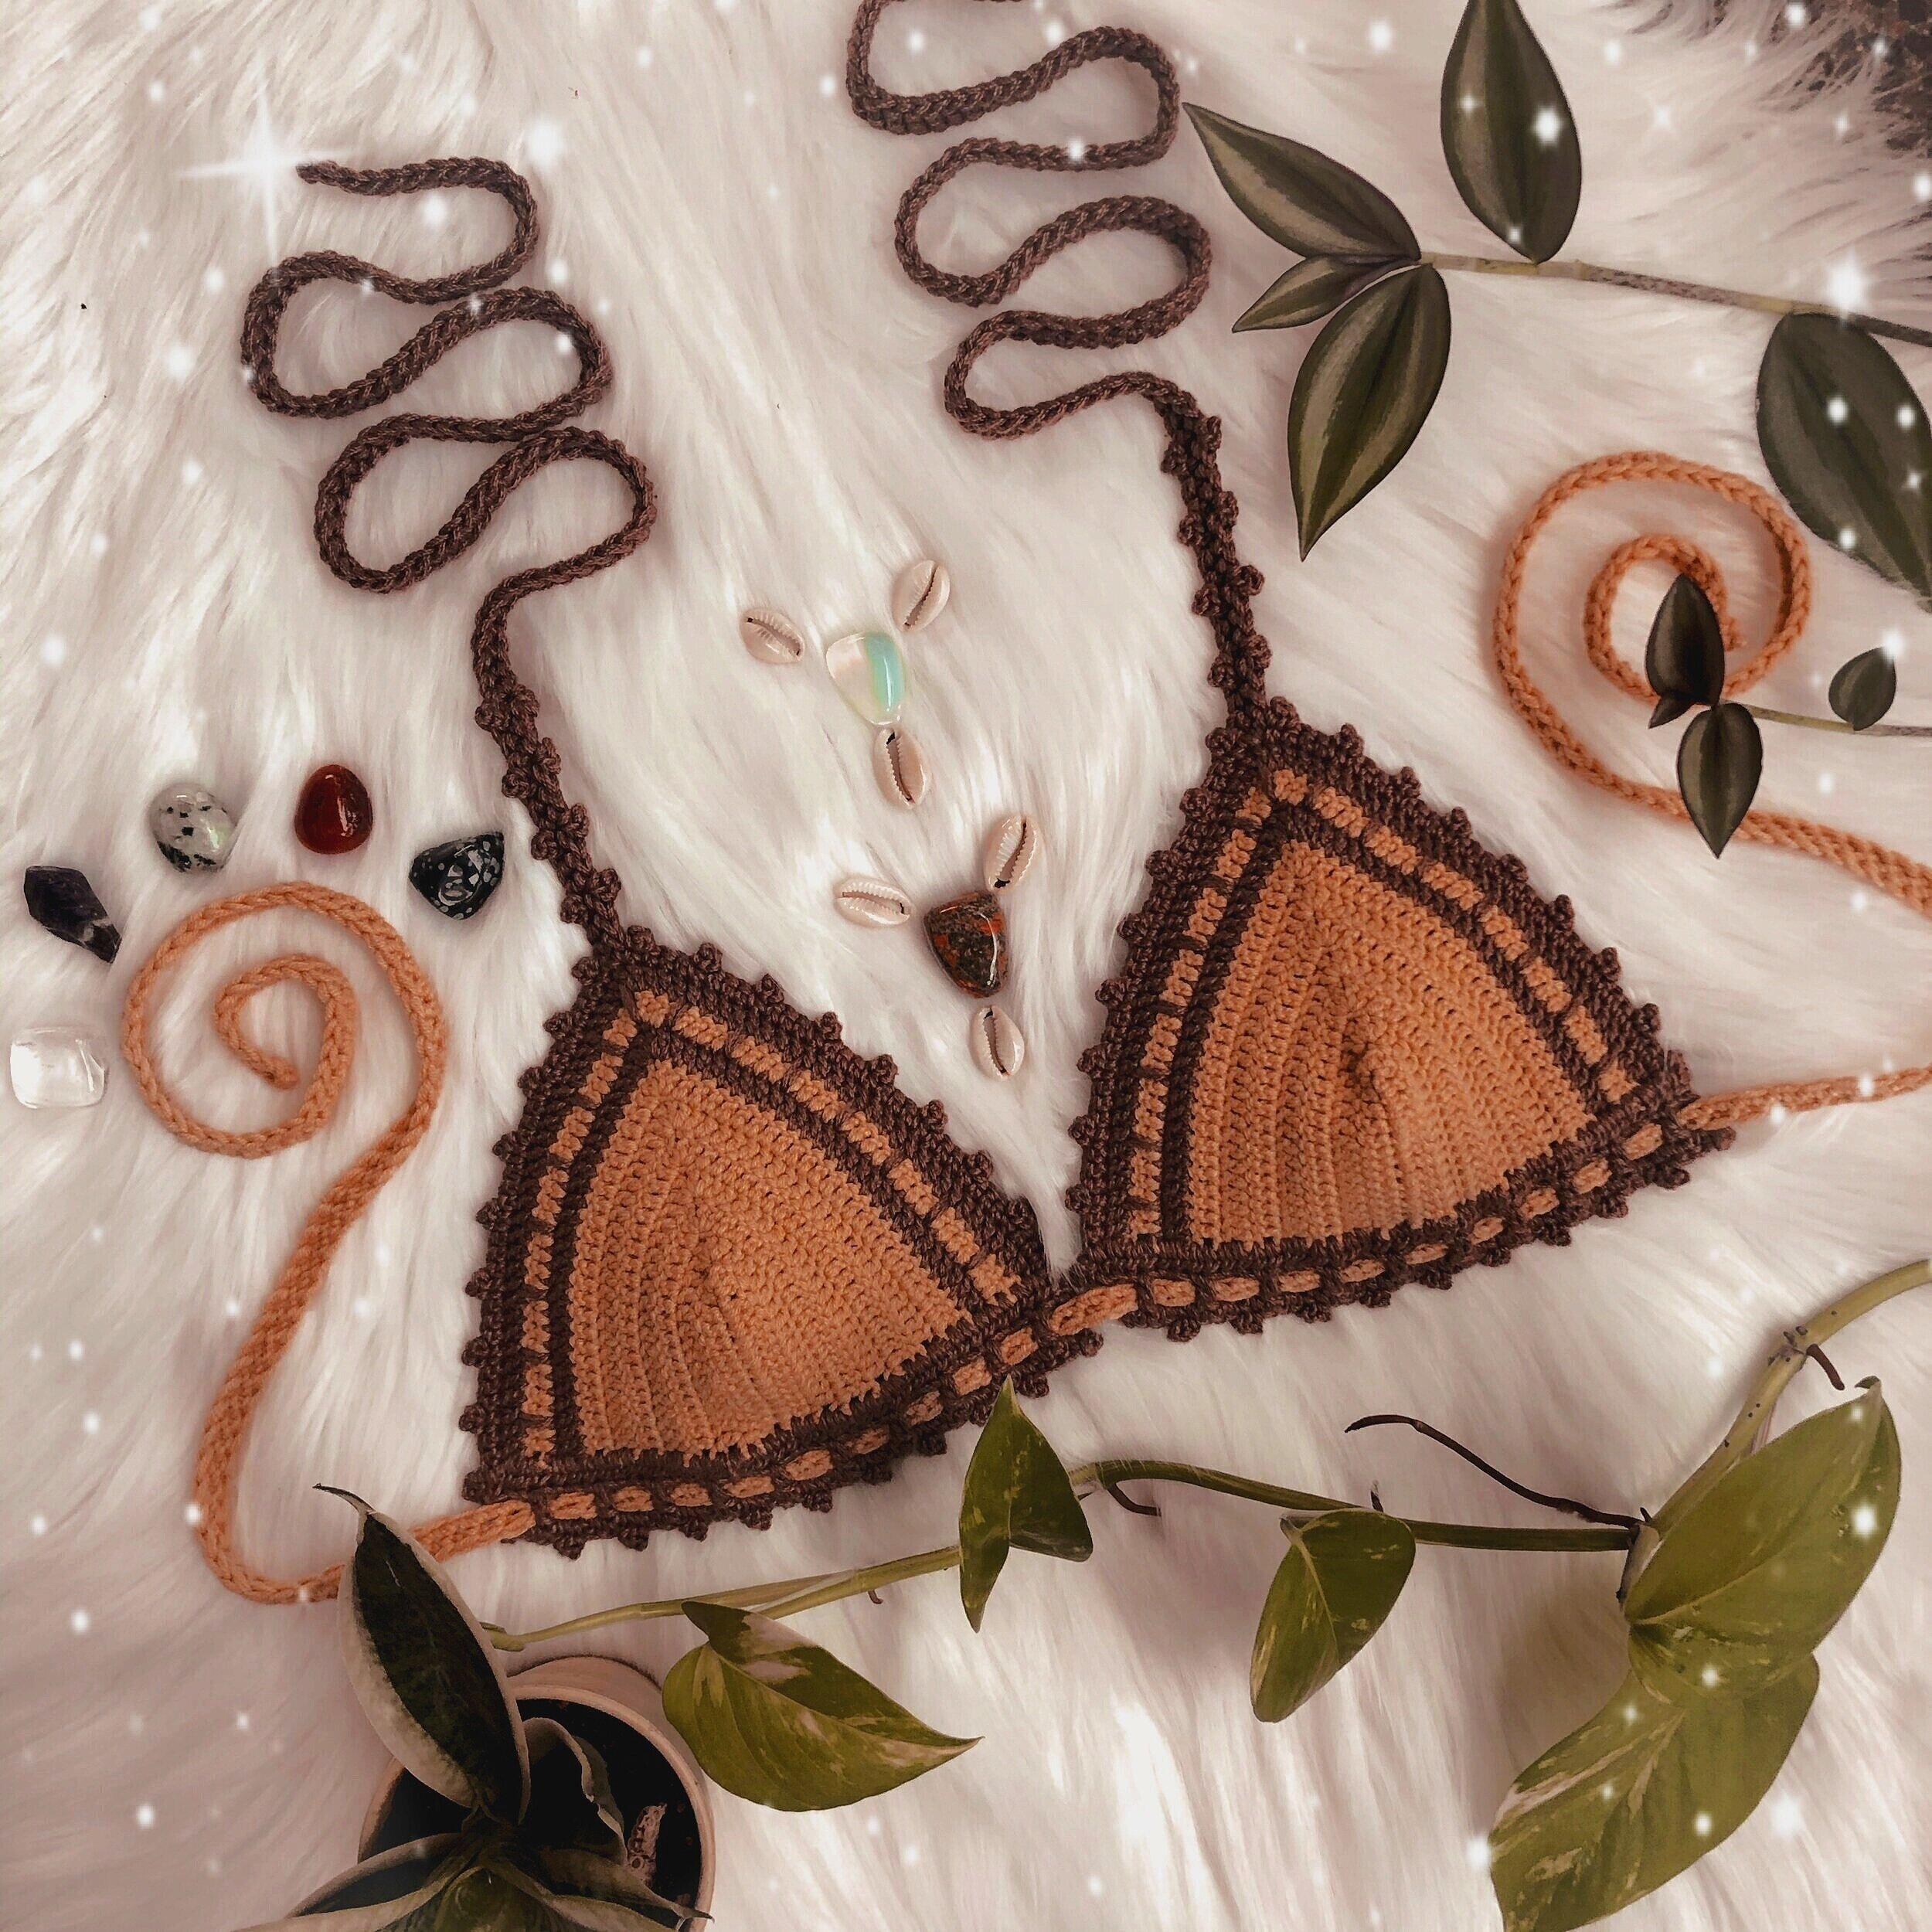
The Trini Tribal Top
I used some of the simplest crochet stitches to create this as it was my first crochet design!
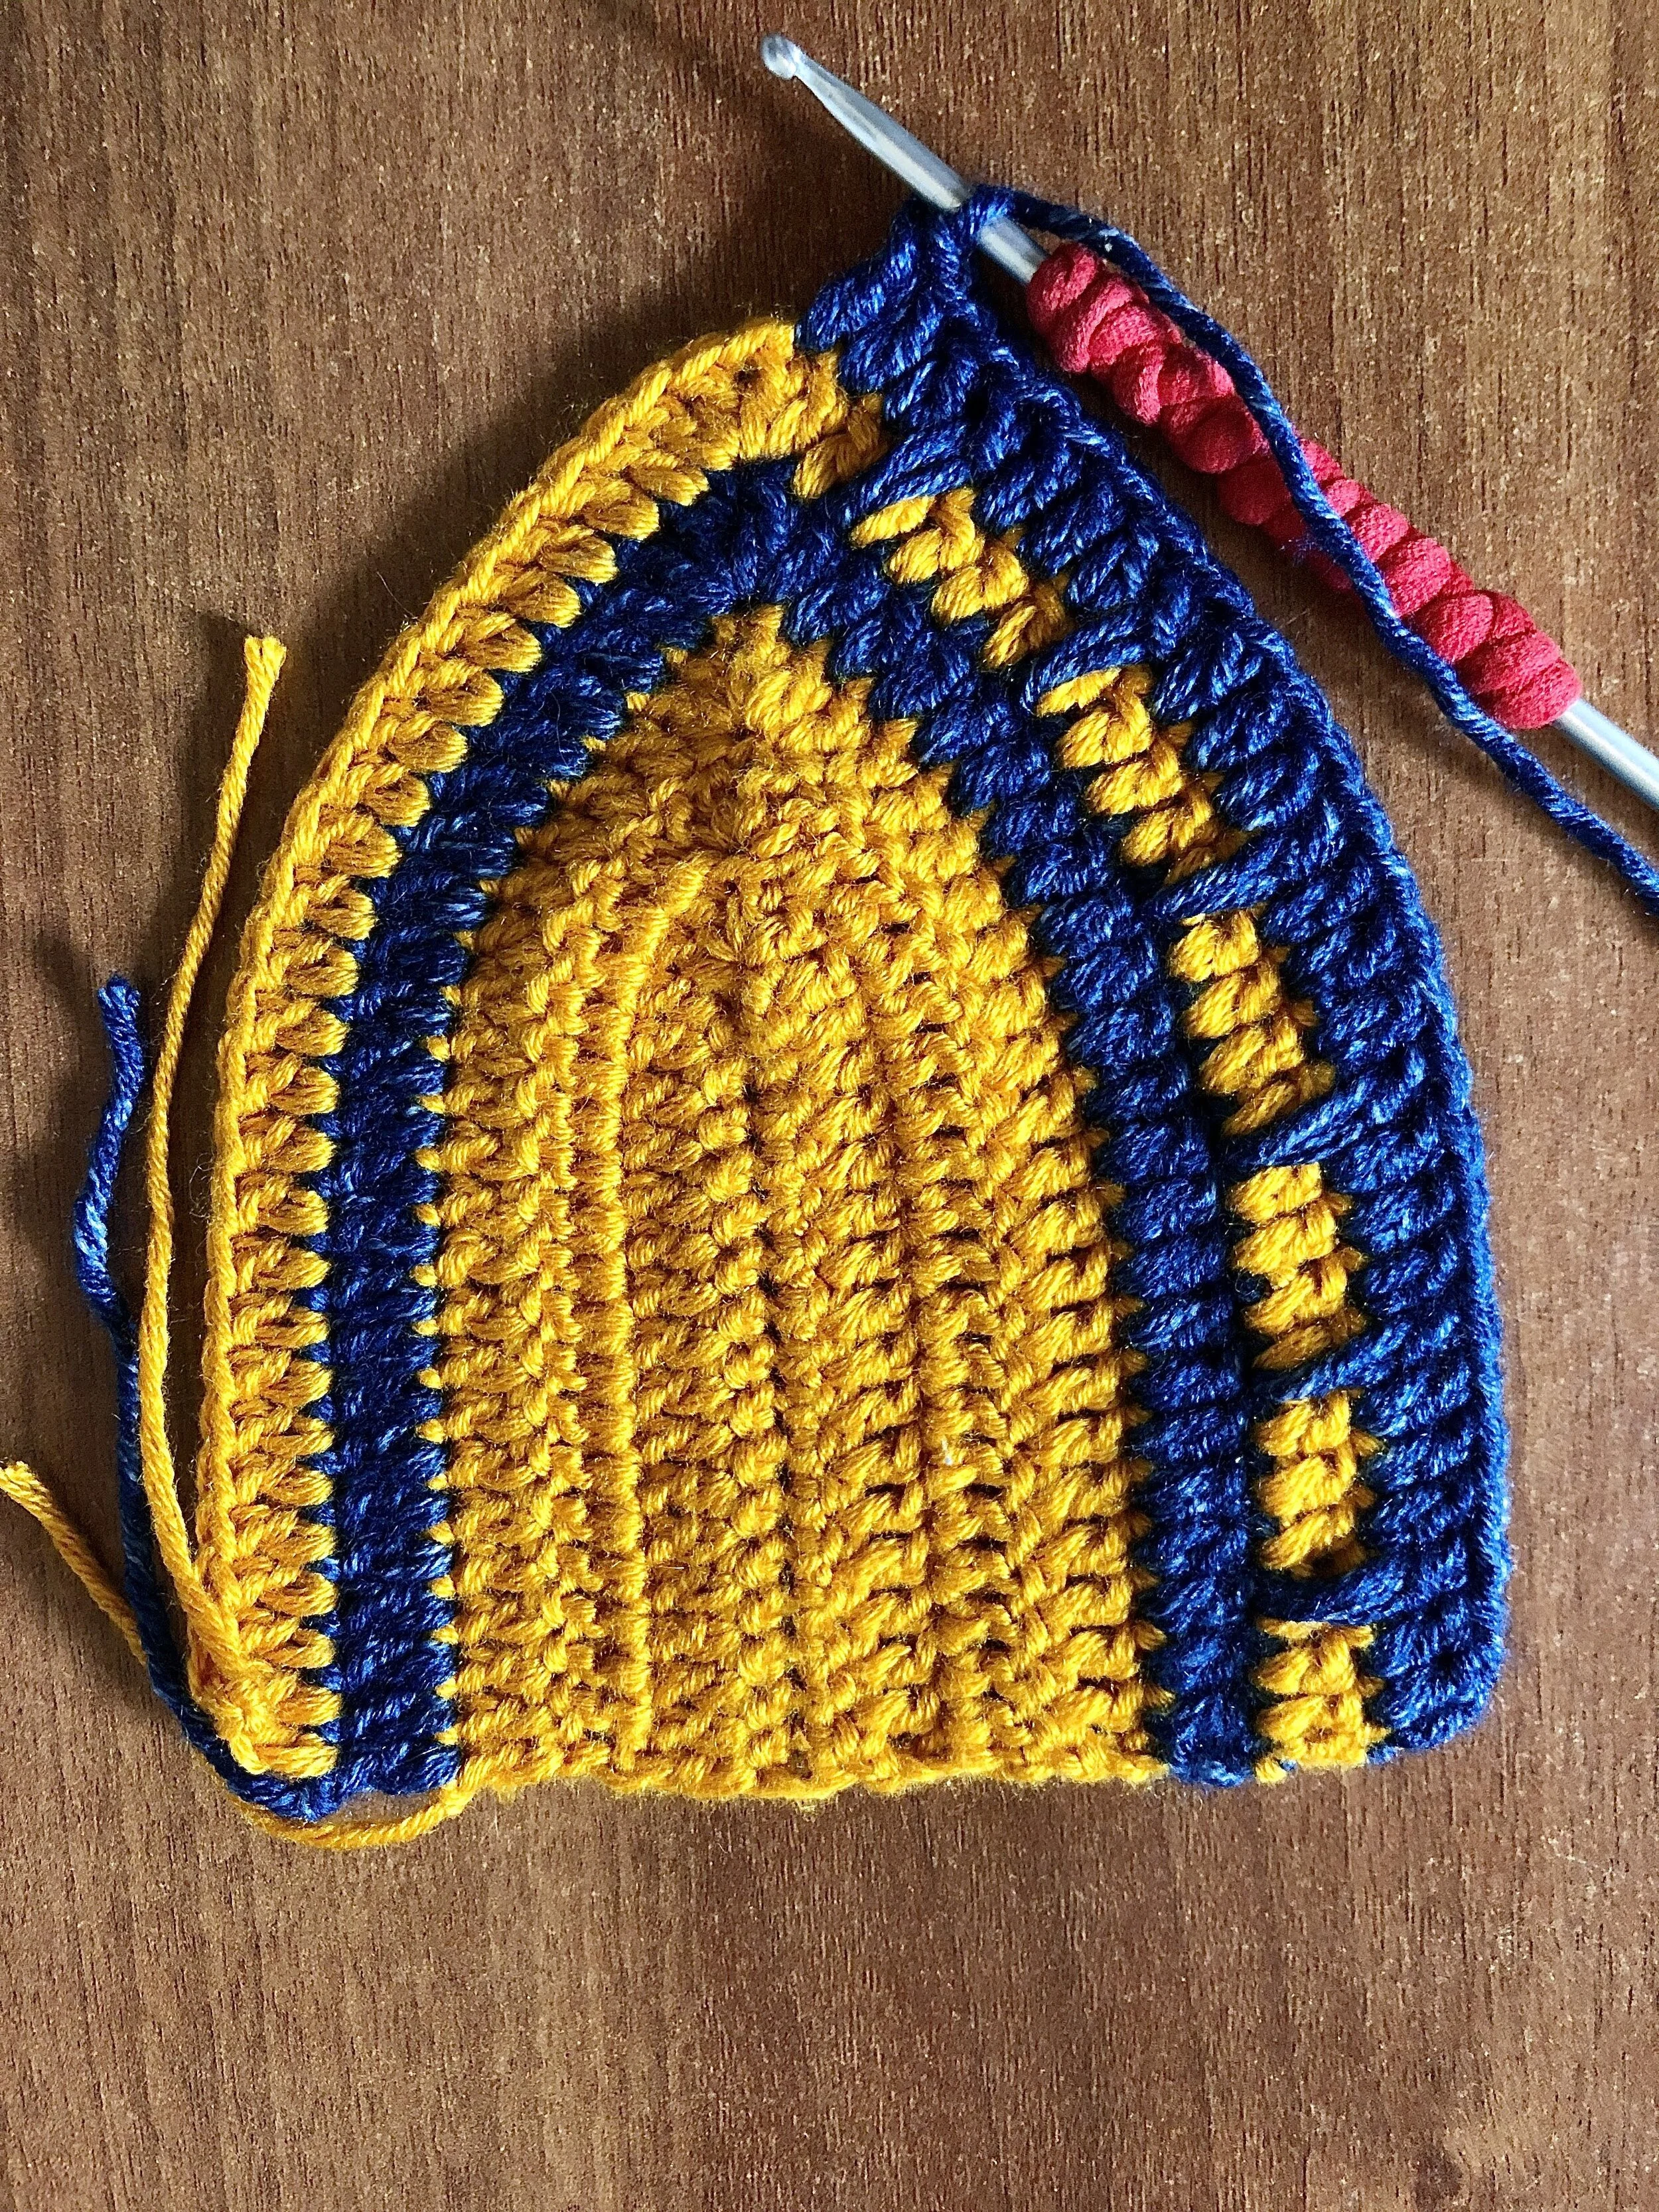
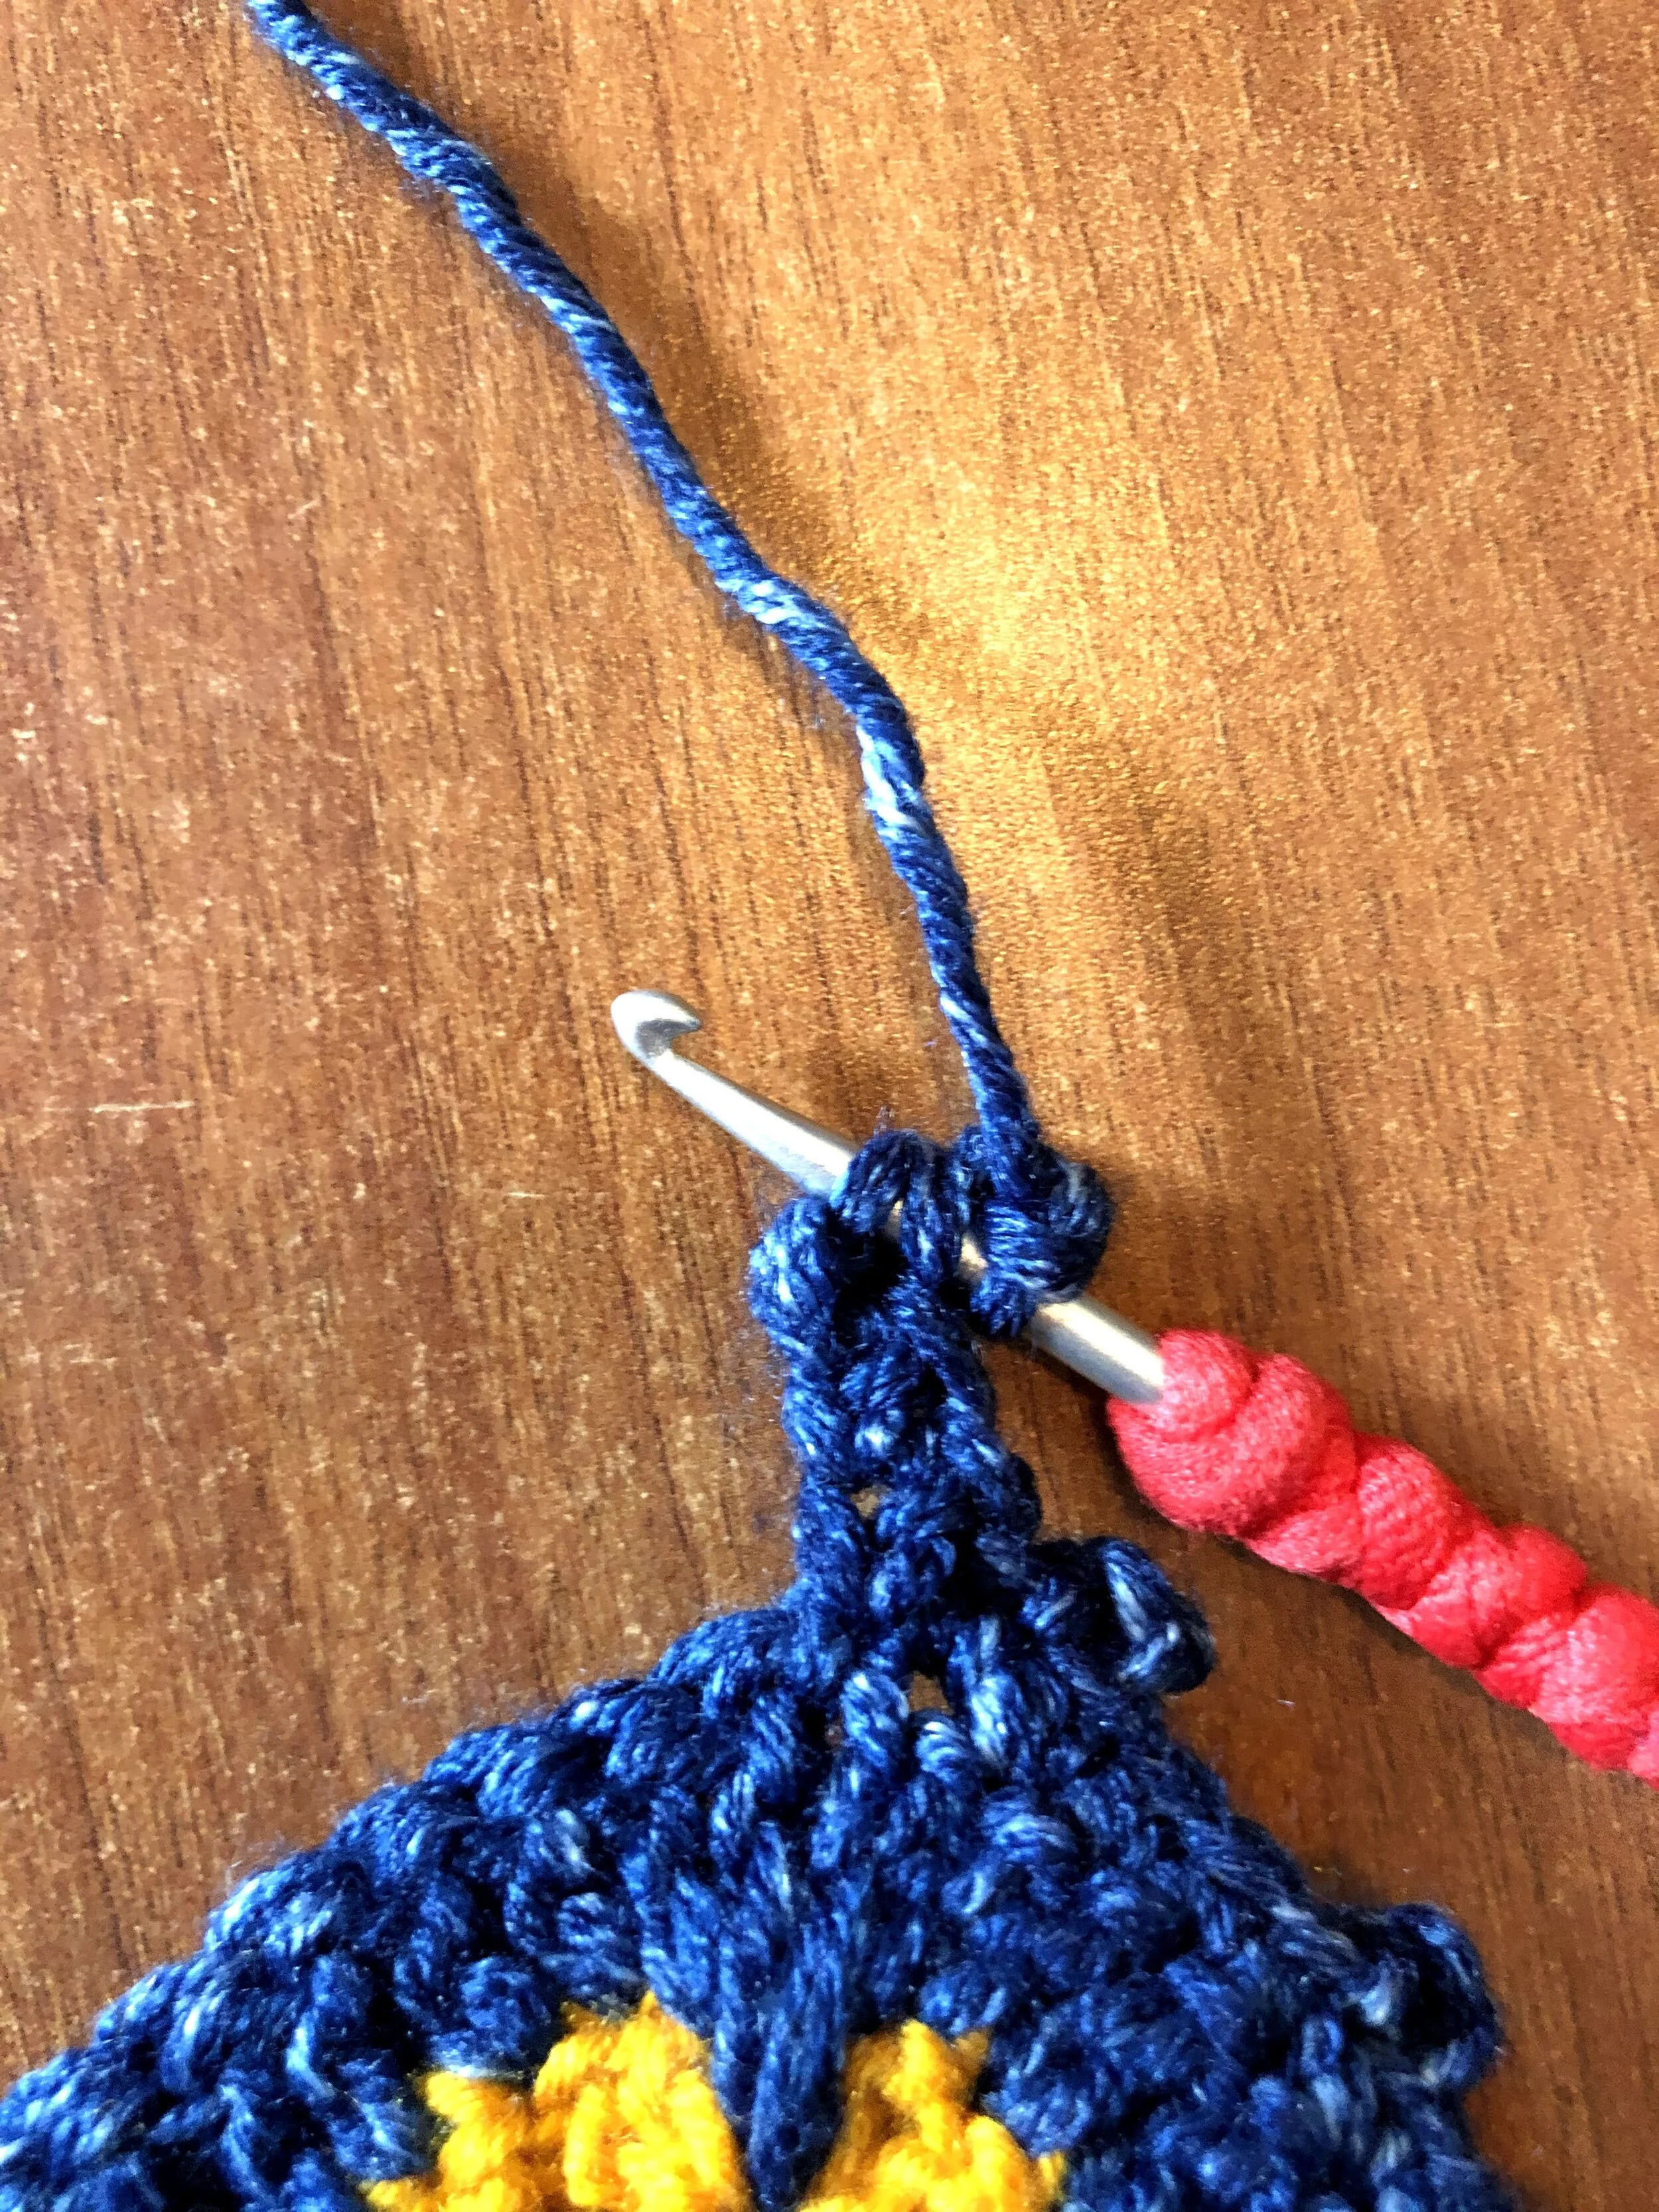
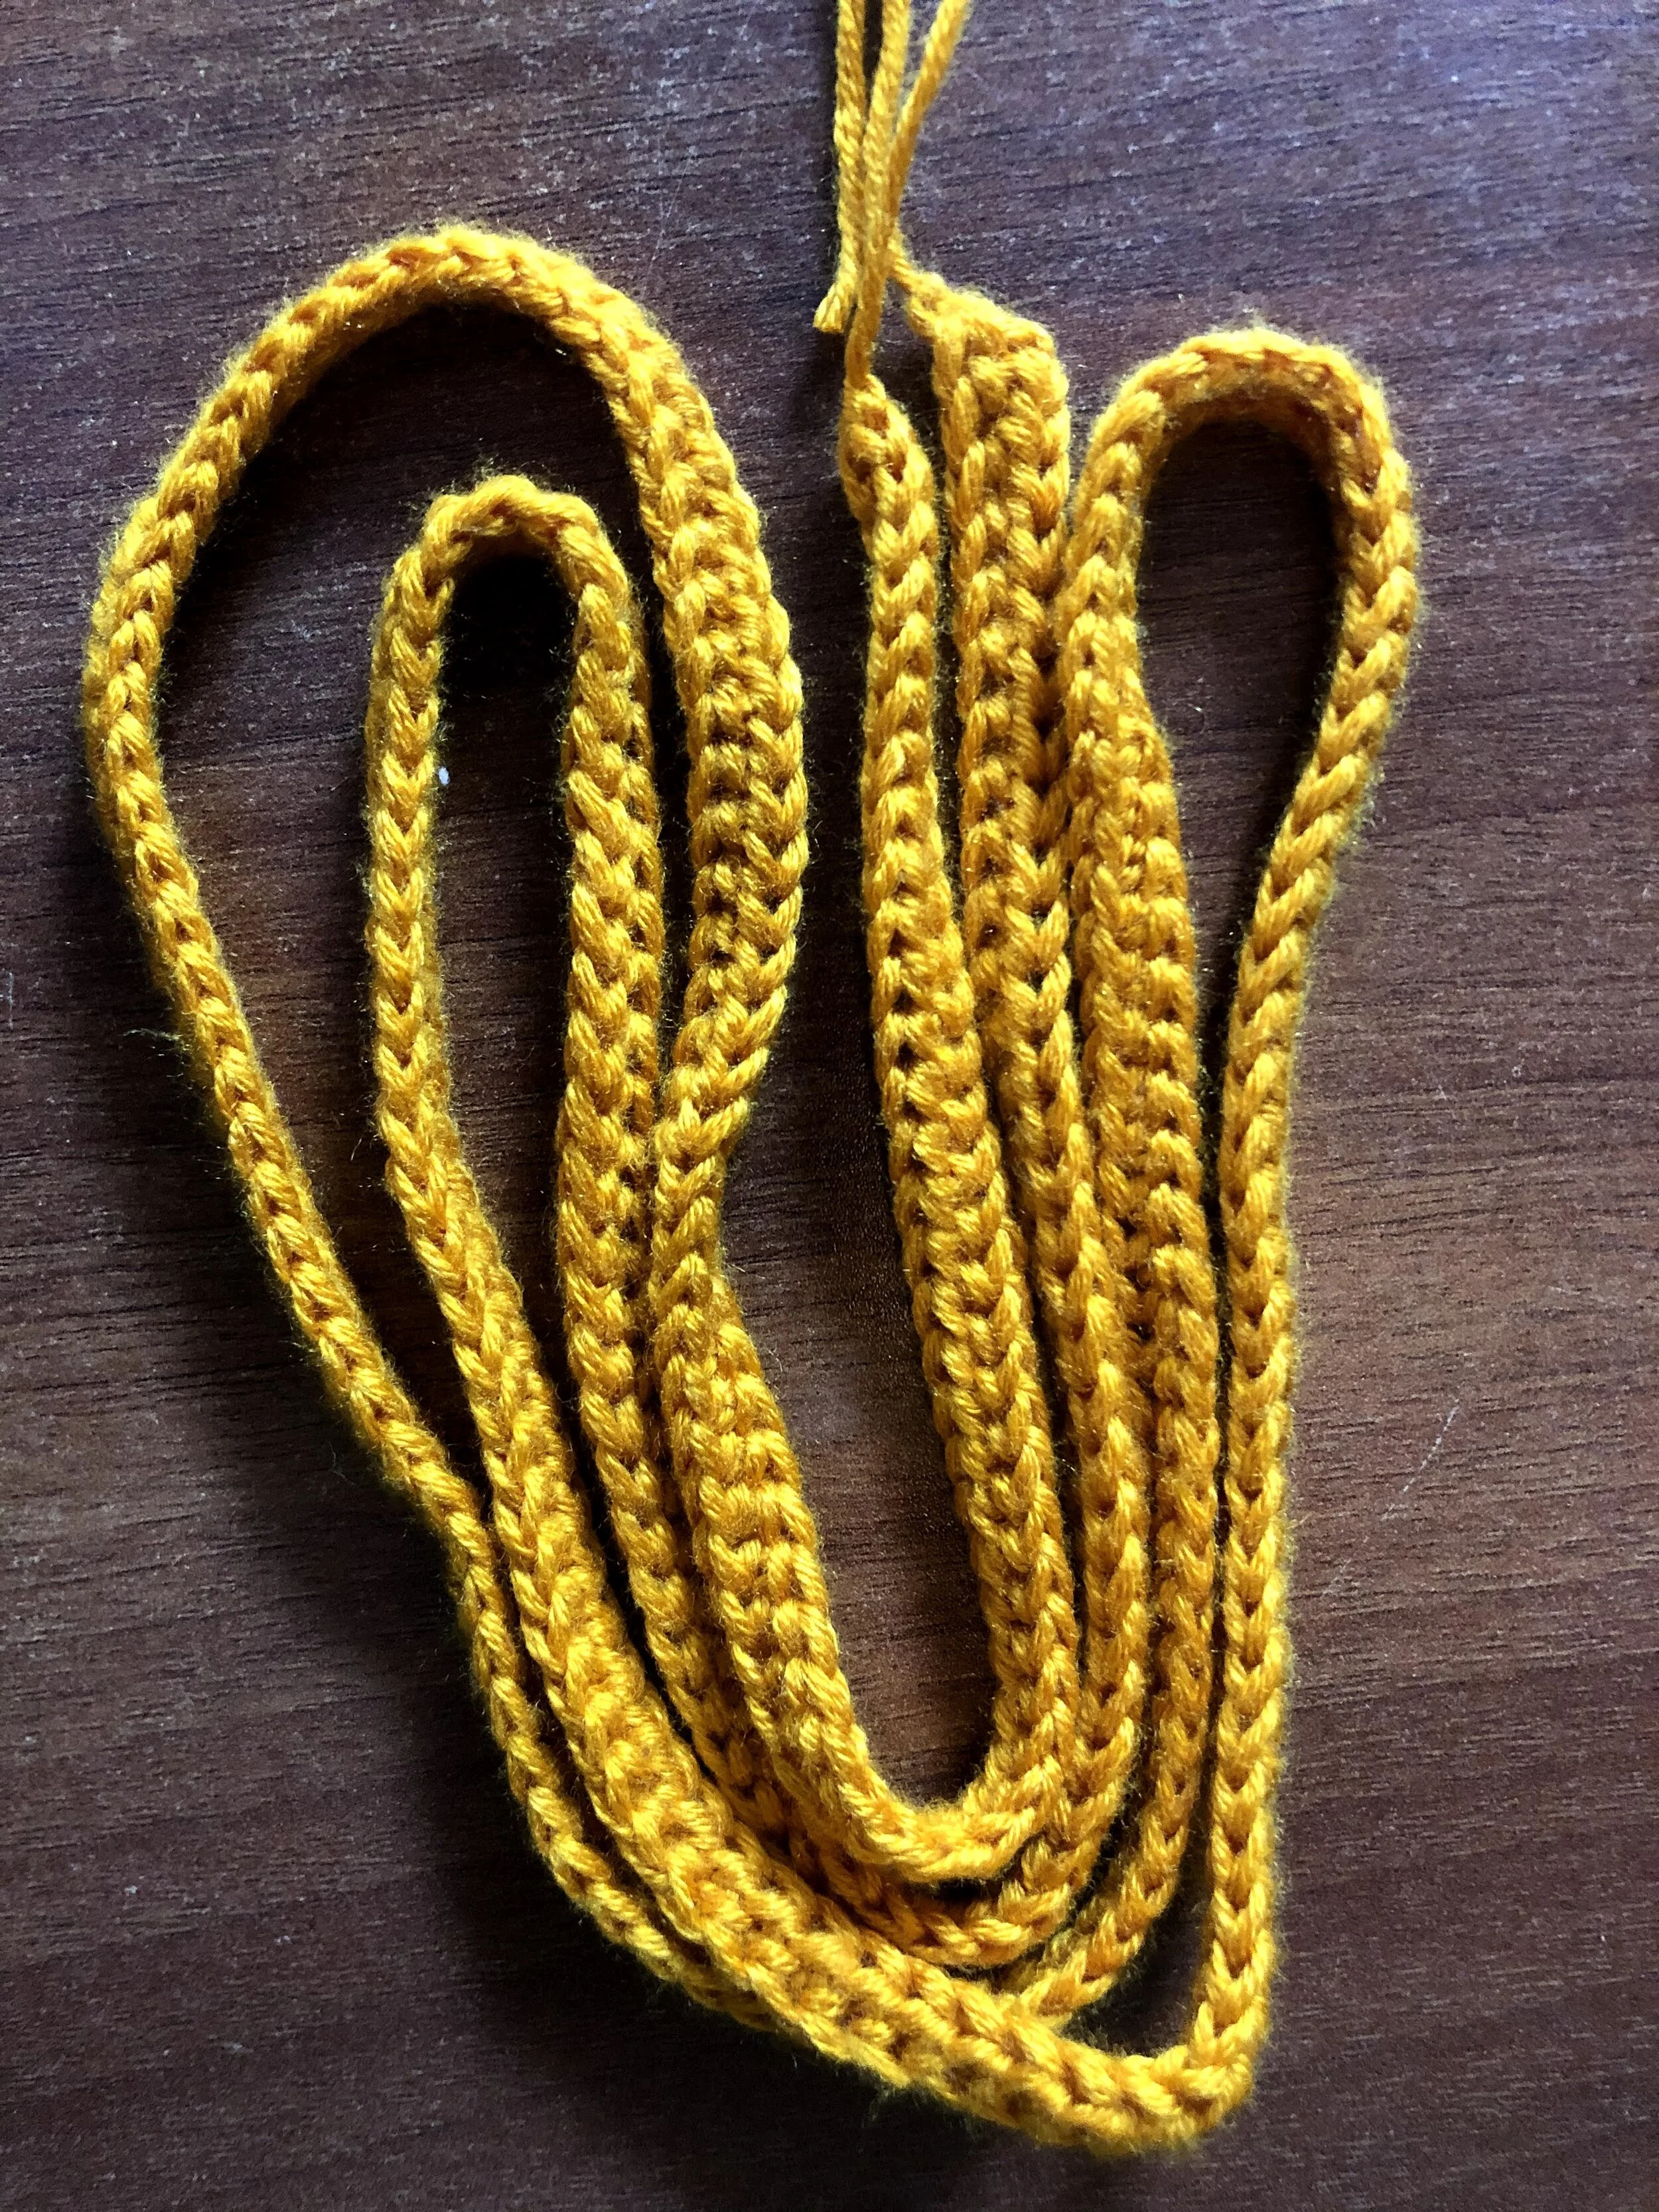
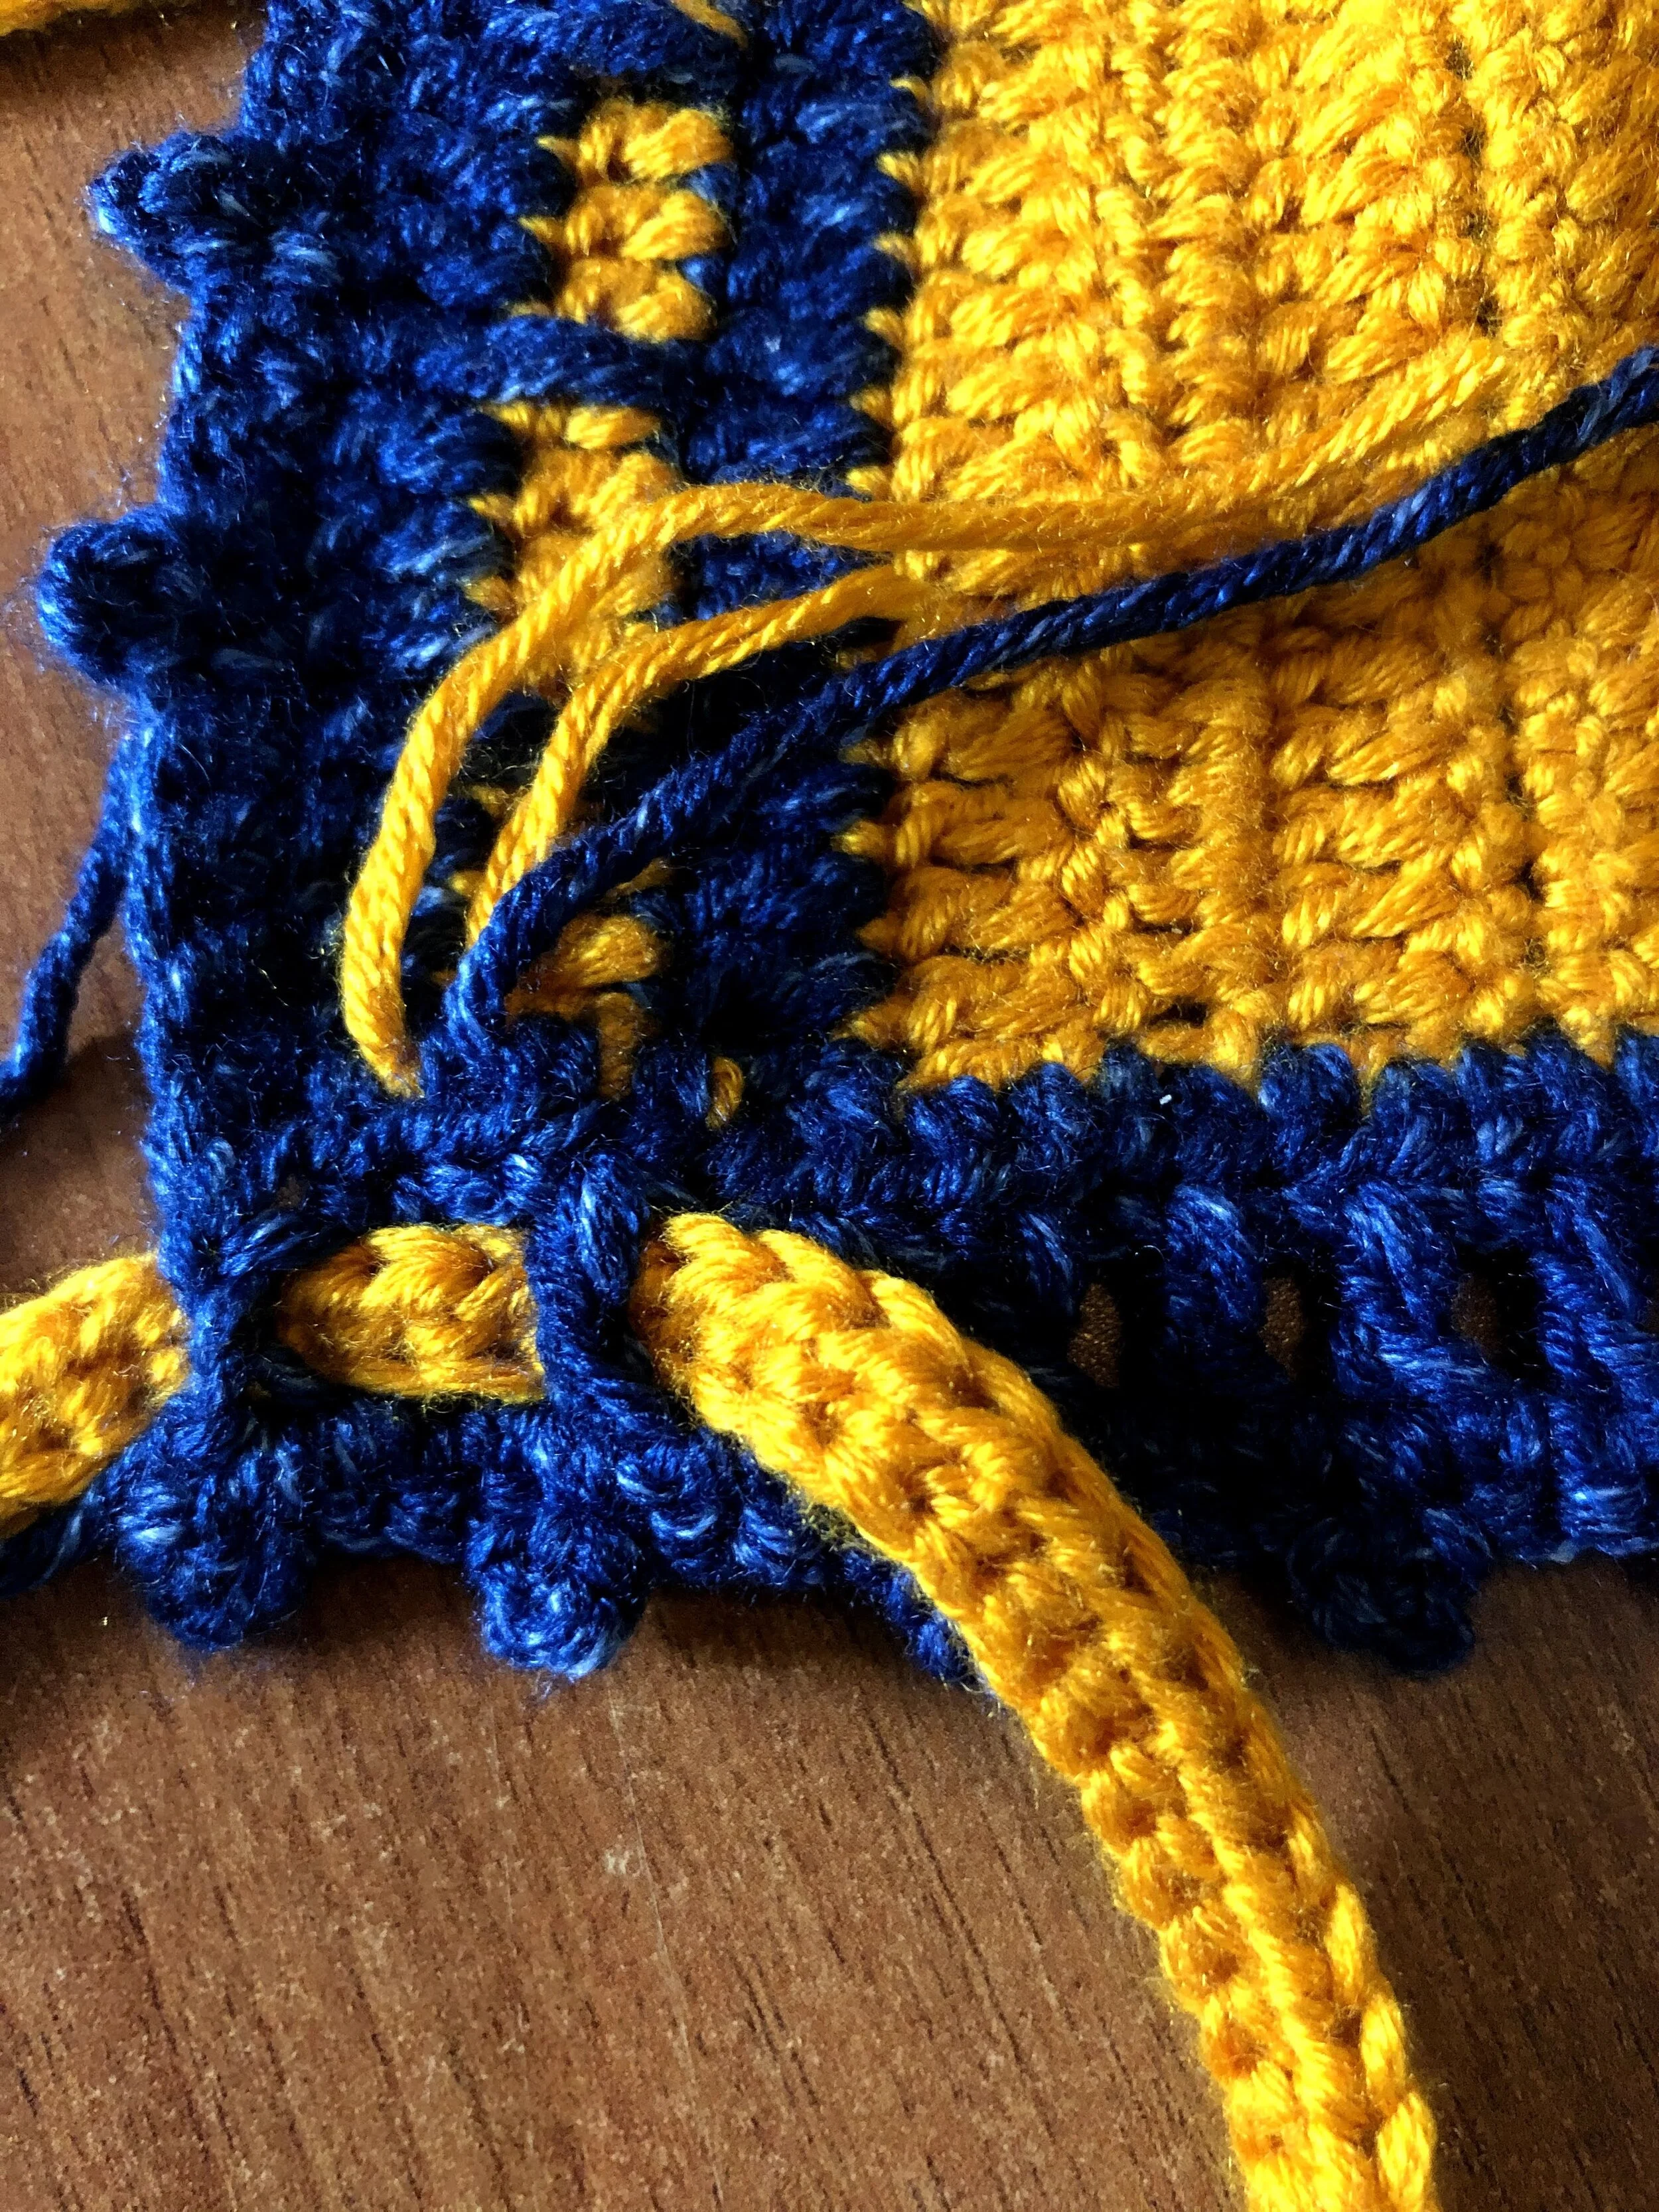
3. Start Writing Your Pattern & Take Lots of Pictures Along the Way
For me, the visual aspect is something that continues to help me learn & understand the design process. This is the reason I LOVE making my patterns with lots of photos for reference! I also make drawings, tables and charts to try to better communicate my instructions to the reader. I also prefer to start writing my designs with pencil and paper. You can also start right away on the computer if that works best for you!
Some tips on writing your first design & taking great photos for your patterns:
Make a gauge for your design (very important). This will help you to scale your design to be made in different sizes.
Use the Craft Yarns Council Size charts to help you get an average idea for the sizing of garments.
Make sure to write down each step in your designated designing journal or word document while taking pictures simultaneously.
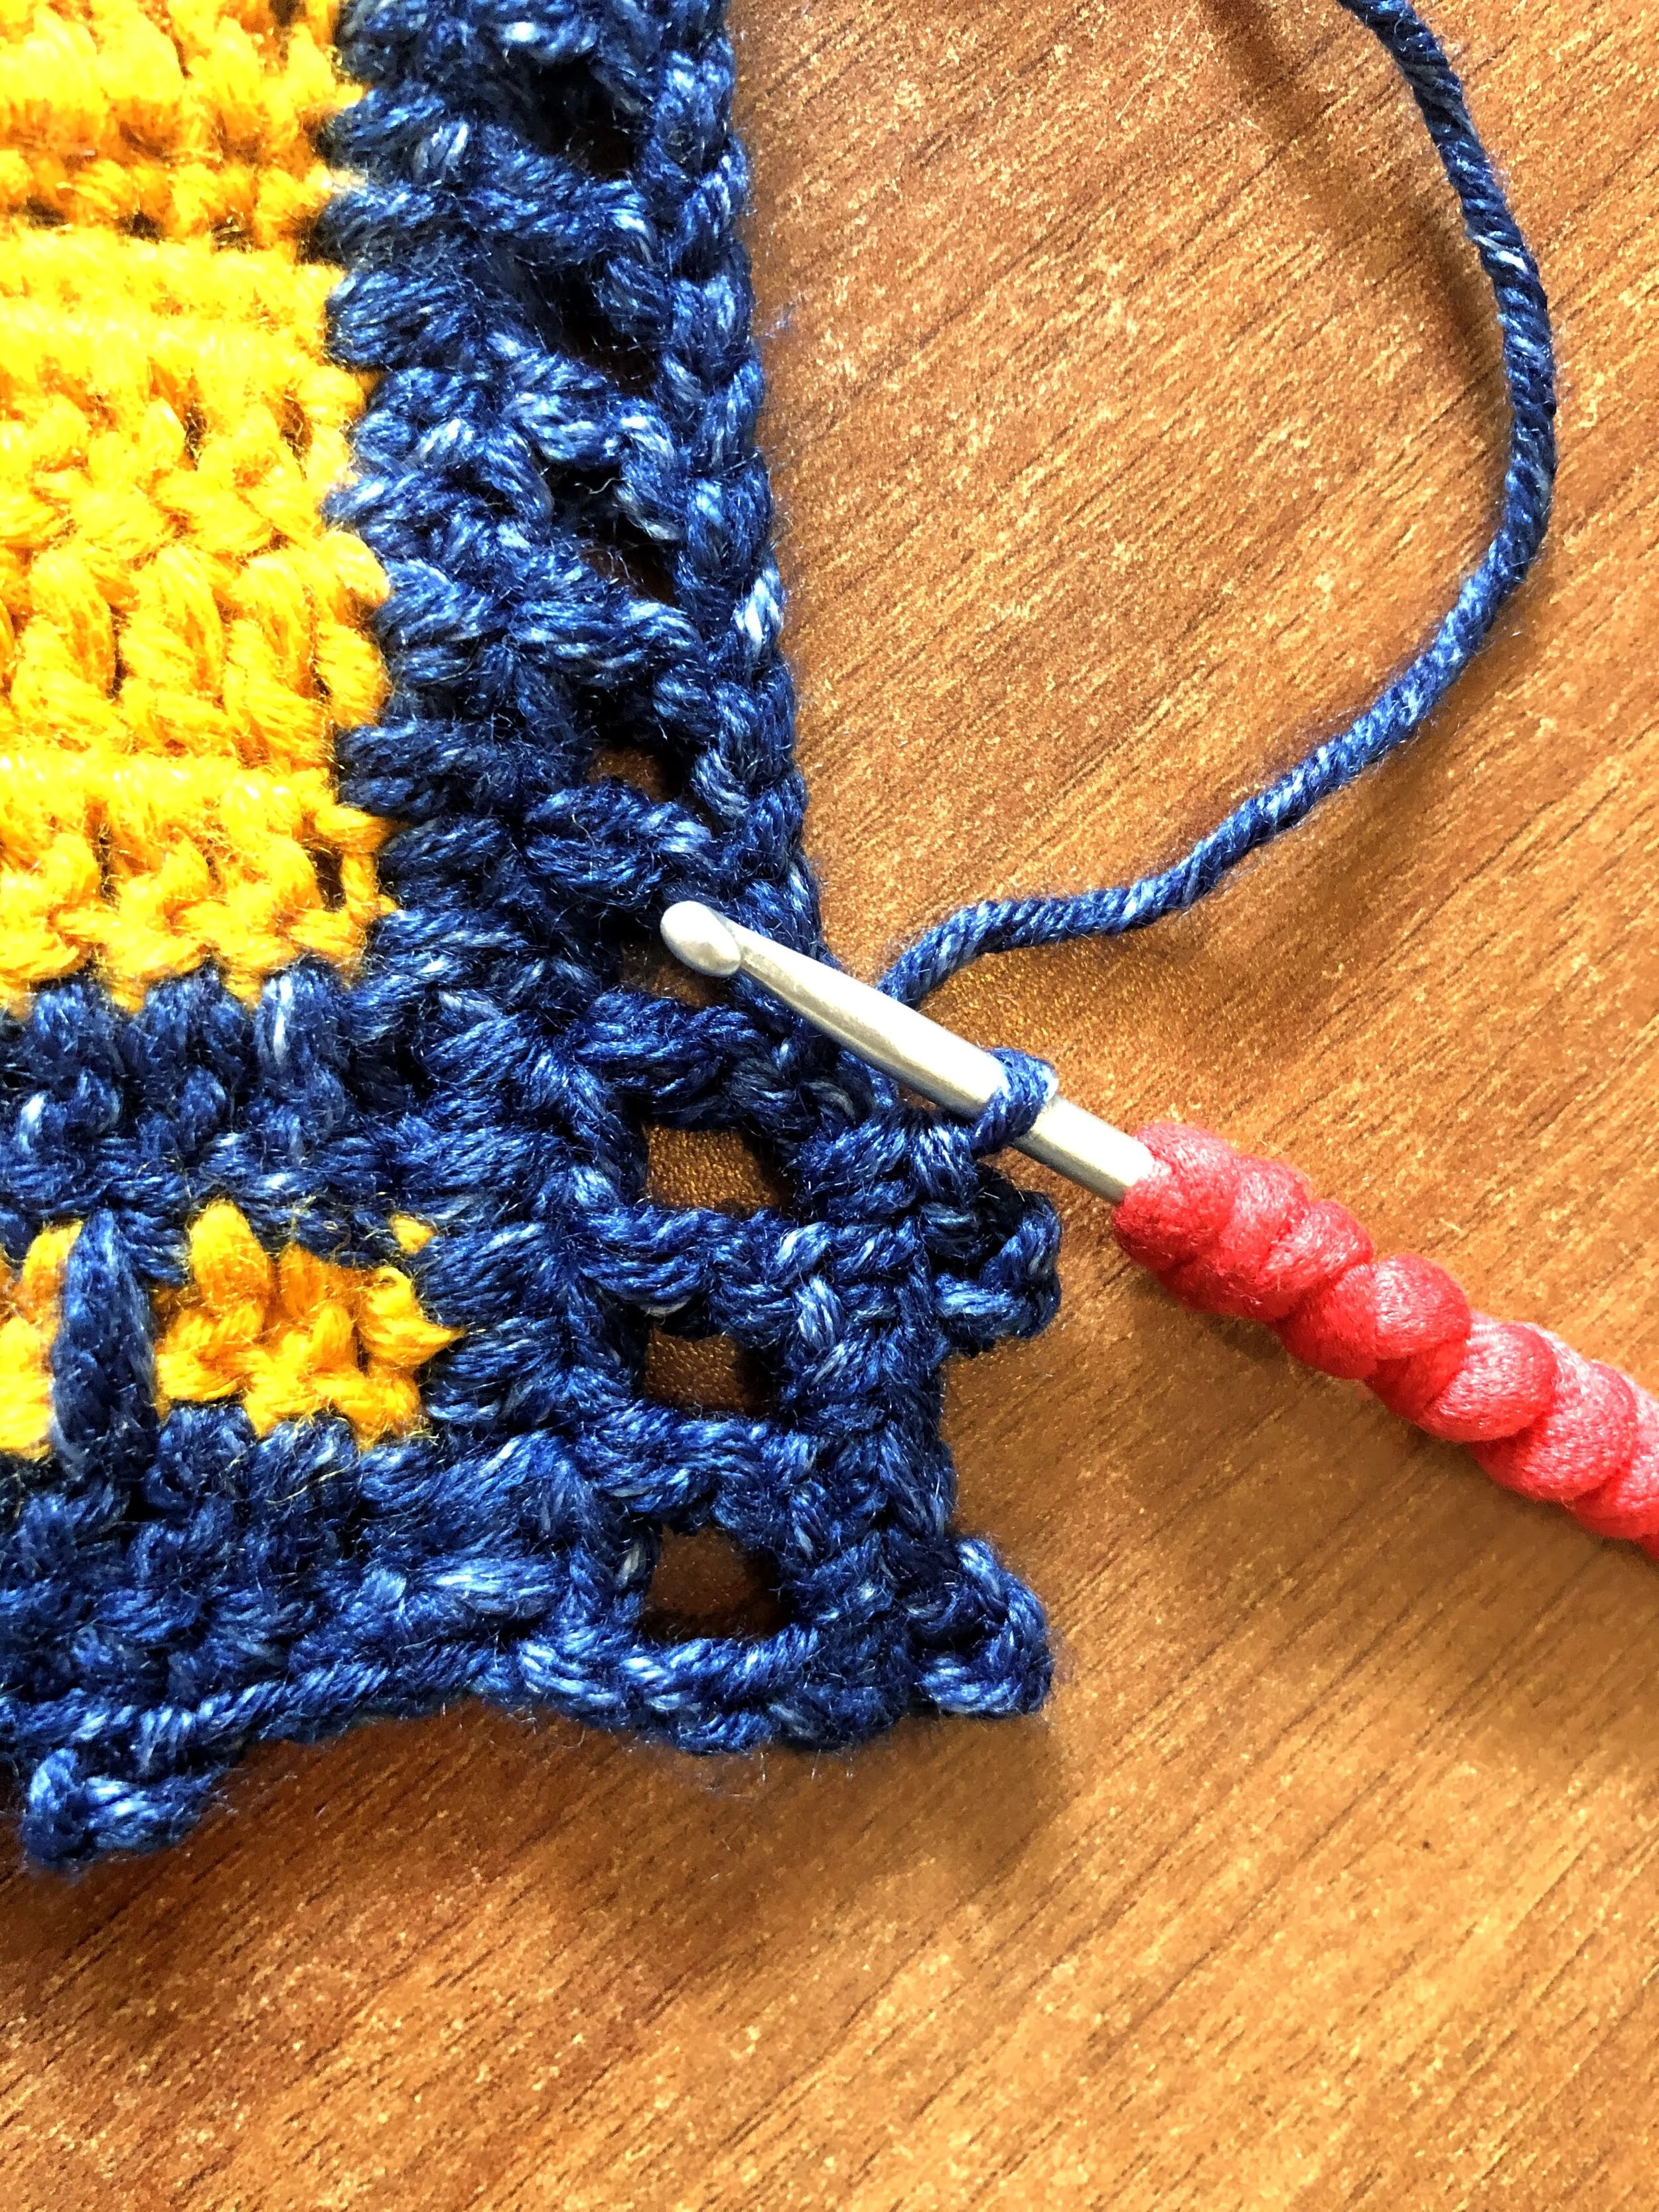
Make sure you have good, natural lighting when taking pictures.
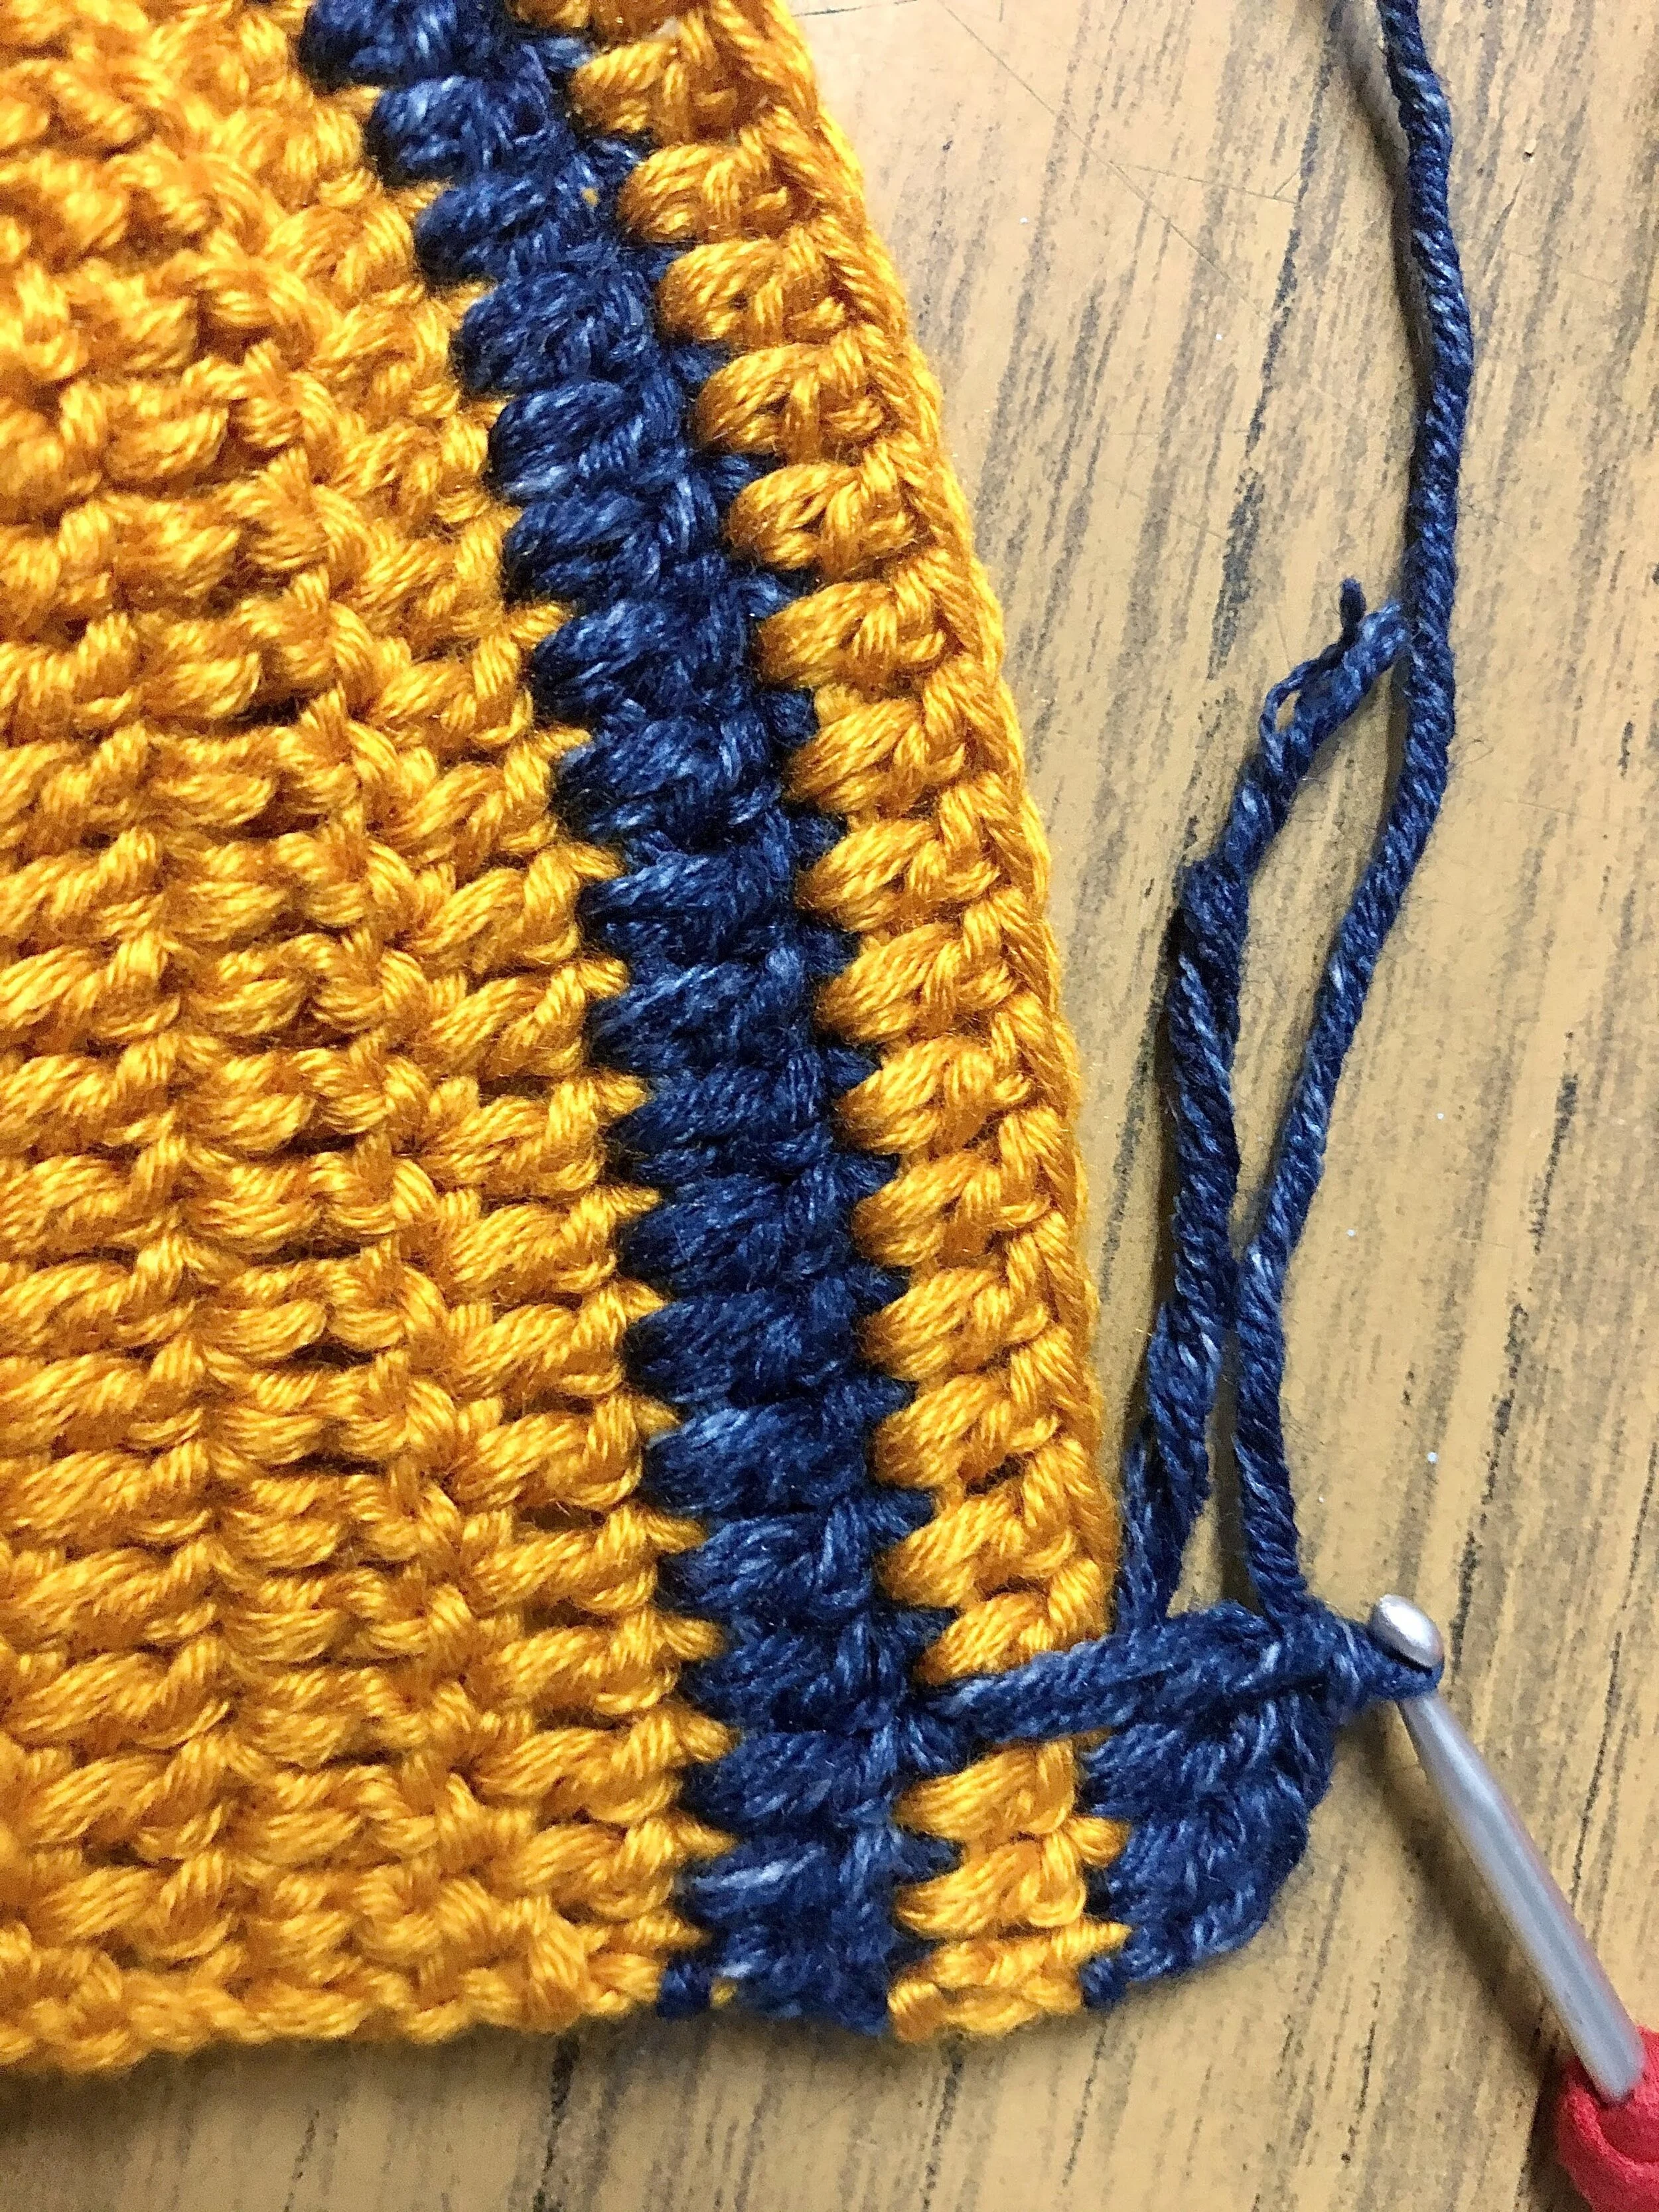
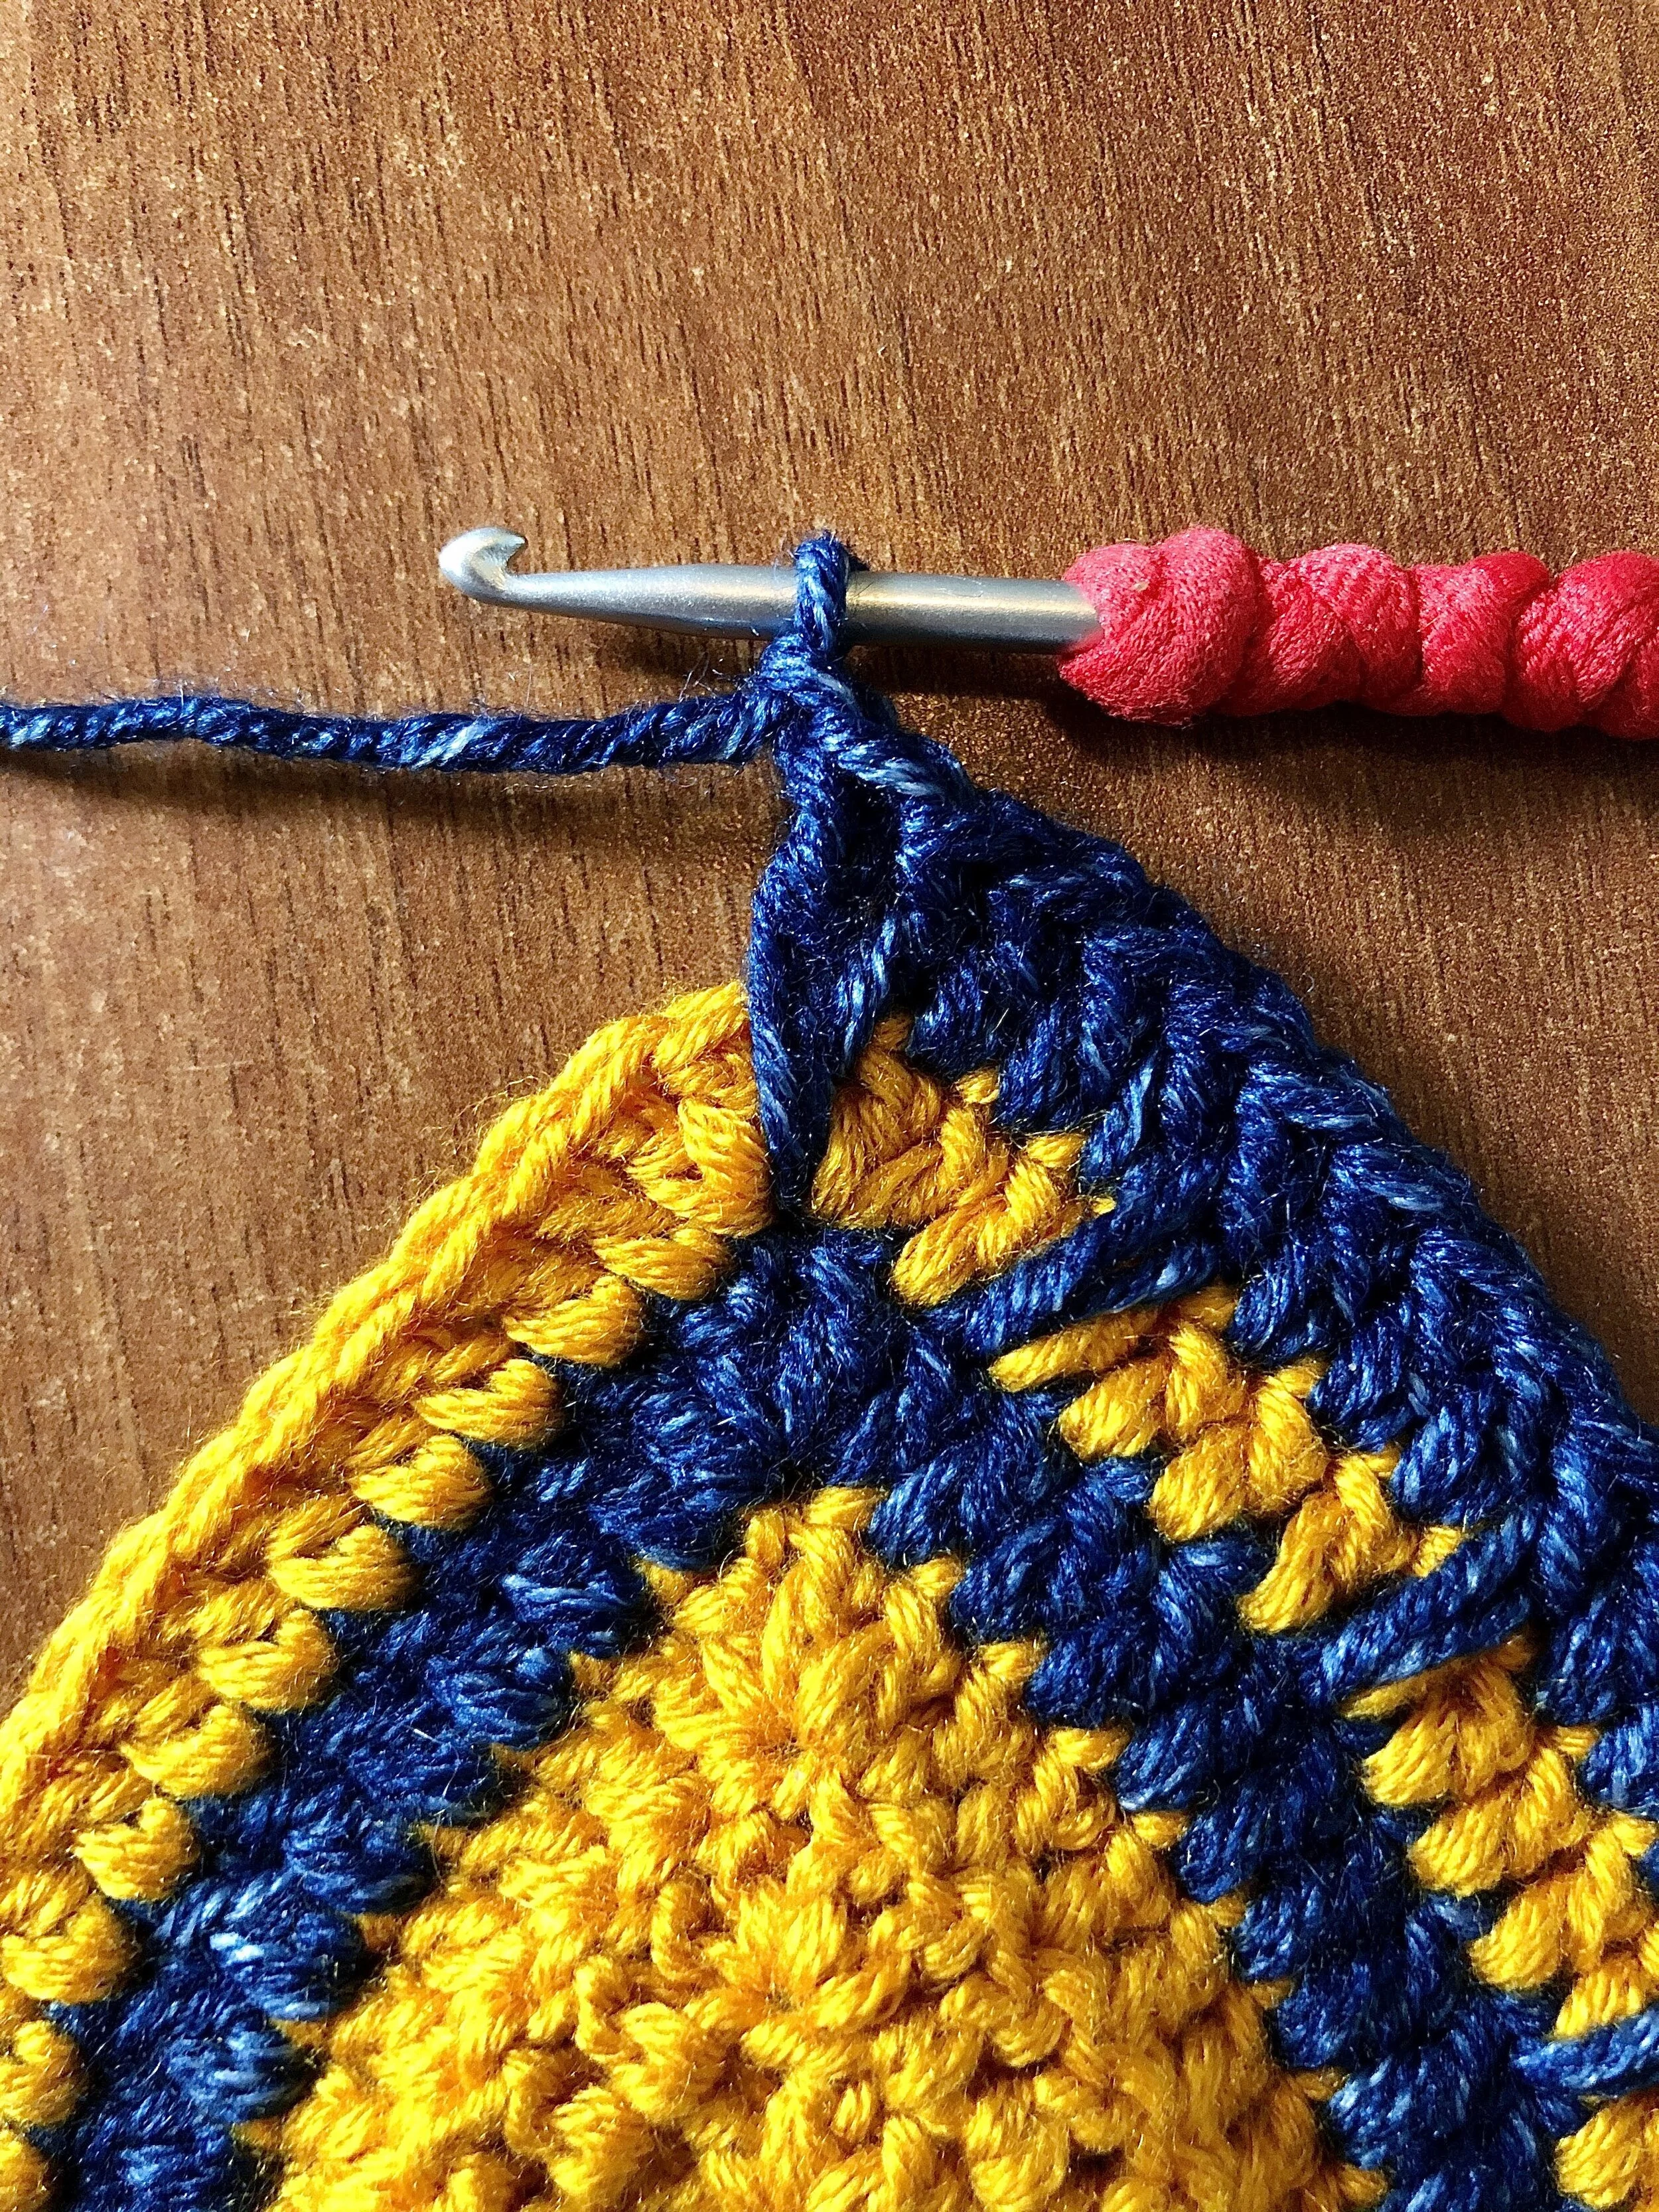
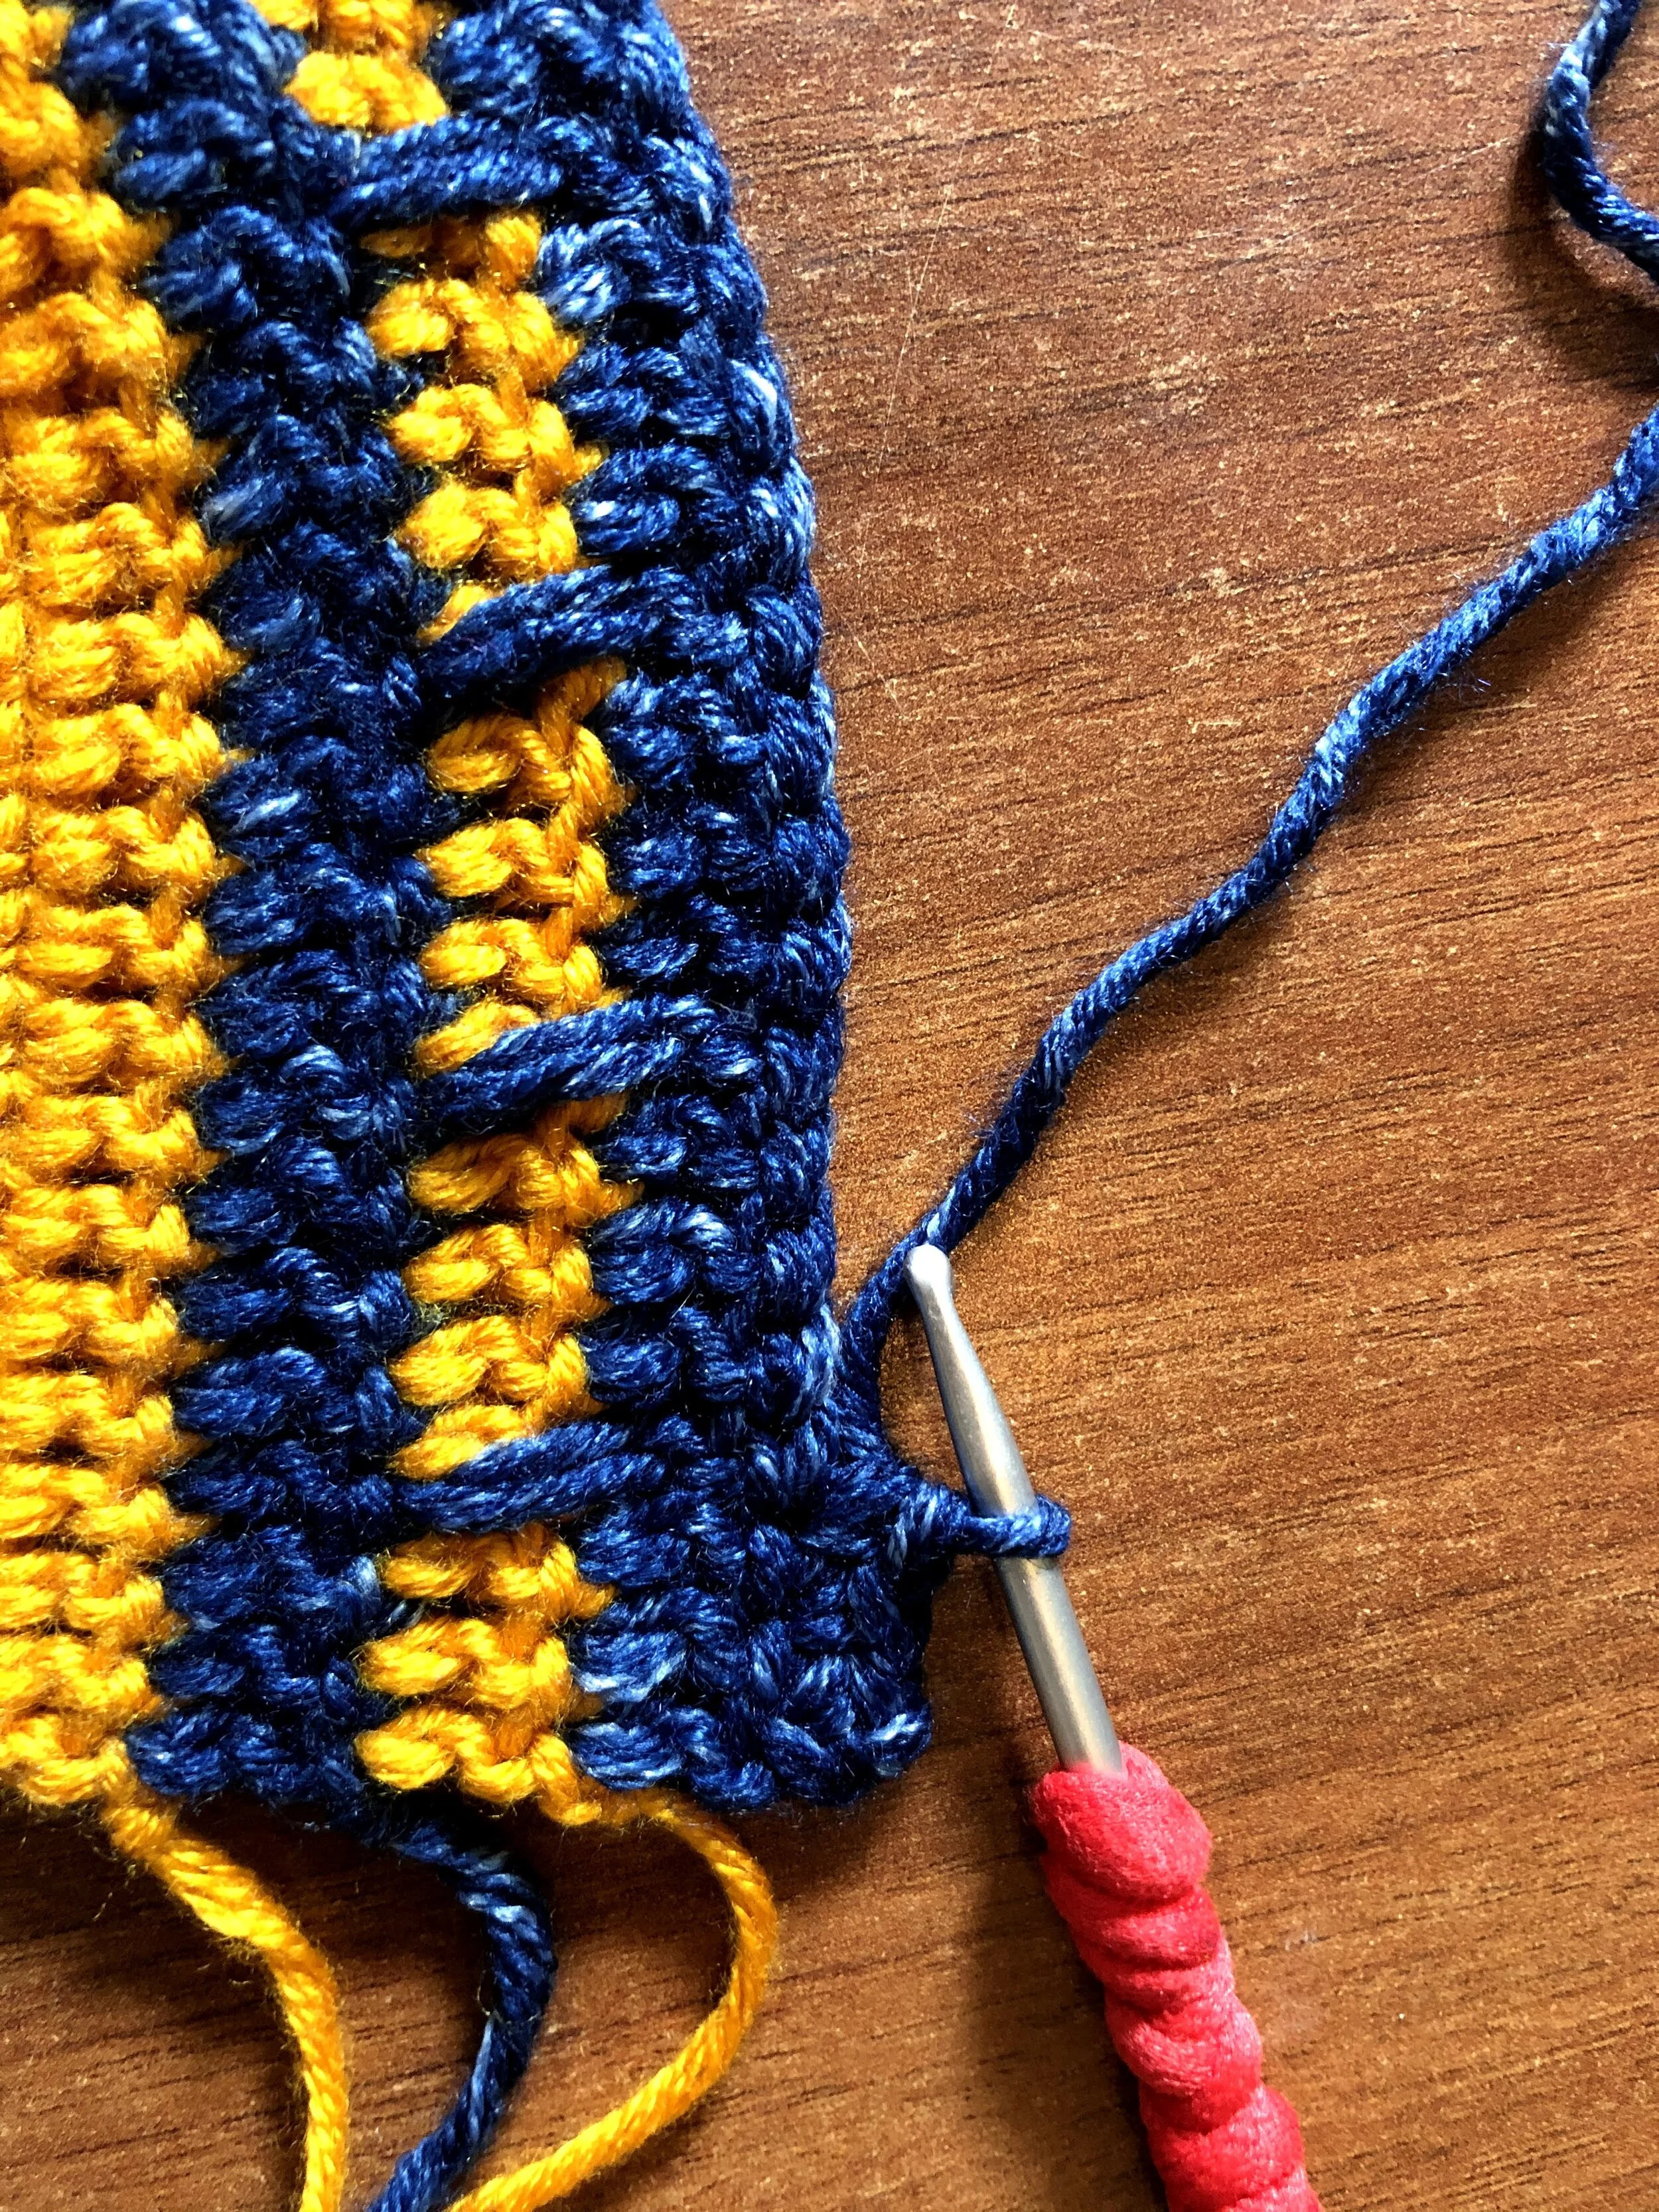
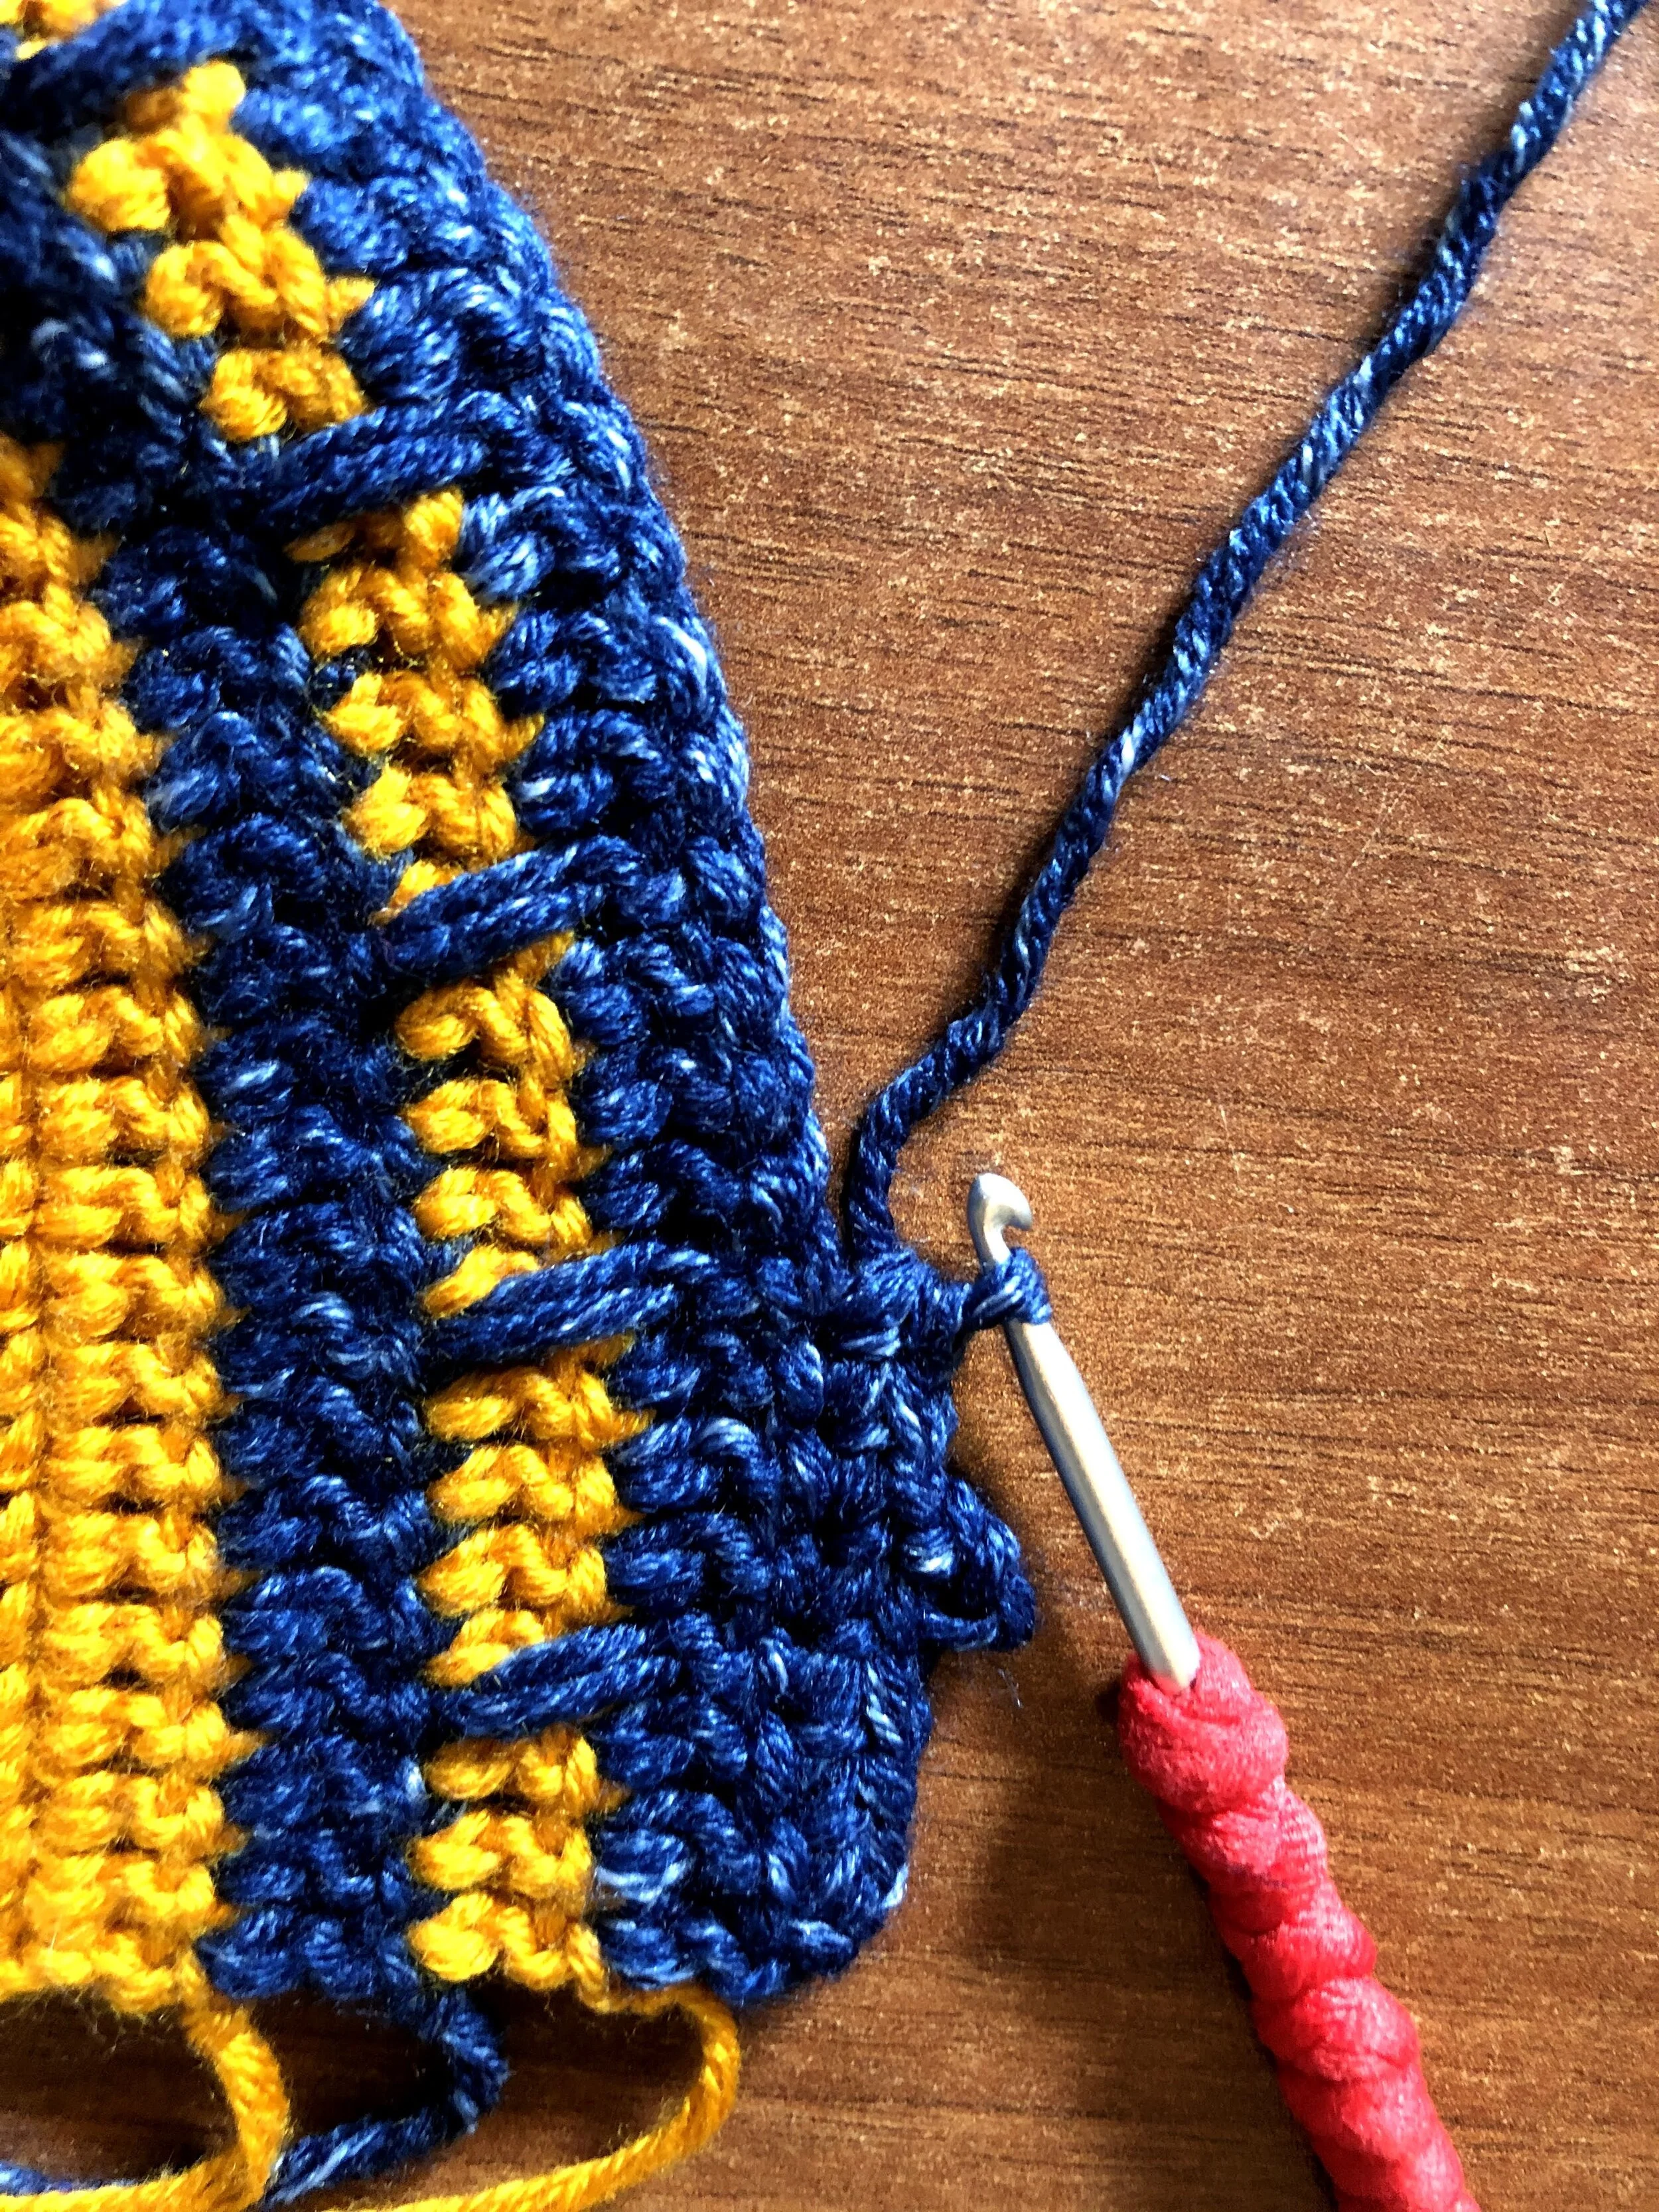
Make sure you are able to get close up detailed photos of the stitches.
Try to use either portrait or landscape mode throughout all your photos to make your pattern consistent
“Dream Big, Start Small”
Take small steps for your first crochet pattern, once you get comfortable with this first one, you can then see how you can improve for the next!
Here are some pictures of my first crochet pattern to give you an idea!


4. Don’t be Afraid to Experiment and Unravel Your Work!
In the past, I used to get really frustrated when my work didn’t go the way I planned and sometimes I’d think that I’ve waisted a big chunk of my time by unravelling a big piece of work.
HOWEVER, I’ve changed the way I think about this because I realised that there are so many lessons to be learnt when we take the time to try something new. Feel free to experiment! If it works, then fantastic! However, if it doesn’t work the first time, take this as a learning opportunity to develop your skills and find a solution to make it work!
Trial and error is all part of the designing process. Learn to trust yourself that you will find a solution and embrace this part of the process. Try not to stress yourself if something doesn’t go as planned! Take a break, and come back to the drawing board when you feel better!
“Make Happiness a PRIORITY & be Gentle with Yourself in the Process”
5. Transfer Your Work into a Word Document or Canva - Edit your First Draft!
Once you have finished your design and wrote down each and every step in your designated designing book and double checked it over, you can now transfer it all into a worded document! If you have already done this, this is a great time to edit and make sure that your steps are clear and understandable.
Some tips when editing your document:
Add your personal touch and make it pretty if that’s what you would like!
Always remember to make the first draft in a way that YOU would find most understandable!
You can add so many different effects once you experiment with the different things WORD (or any other document editing app) has to offer. Experiment and find your style!
Once you are happy with the final draft worded document, turn your WORD document into a PDF file. Now we can move on to the next step!
“Believe you can, & you’re already halfway there.”
6. Make a Tester Call Post
This is very similar to the first step but this time YOU ARE THE DESIGNER! And you write the rules! You can use the outlined rules in step one to curate your tester group. However, this is just a guide. Do what works for you!
Also make sure to choose testers of diversity. You will need at least 2 persons in each size to help grade the design for different body types and sizes.
I know it can be daunting and scary to put your first pattern out there into the world for others to see & critique. I’ve been there, but you’ve got to GO BRAVE! YOU GOT THIS!
Be mindful & remember that all criticism is constructive criticism! Don’t take it personally because this can help you tremendously in order to improve your pattern & make it more understandable for others who would like to buy your pattern in the future!
“There is always light, if we are brave enough to SEE it. If only we are brave enough to BE it.”
When you’re posting a tester call on Instagram or TikTok, use #testercall and #crochettestercall so pattern testers can find you. Ask your crochet friends to share the post for extra reach.
In your post, tell people exactly what you need and lay out your rules:
Show off the finished design as your main photo
List the pattern-test rules
Give a clear testing window
Specify the sizes you want—ideally XS through 5XL for an inclusive fit. If you can’t find every size, use your gauge to grade your pattern to standard Craft Yarn Council measurements
Create a Google Form for applications and link it in your bio. Ask for name, email, social handles, and any other info that helps you choose the right testers
After you pick your team, message them with the draft PDF and a second form for feedback. That way you’ll get notes on fit, clarity, grammar, and any other tweaks
When testing wraps up, use their feedback to fix sizing, clear up confusing steps, and polish your draft
Publish your final pattern on Etsy, Ravelry, LoveCrafts, or your own site
Ask your testers to share photos of their finished projects and for permission to repost them on your feed. Their posts will help crochets discover—and buy—your pattern
If you still have questions, feel free to leave a comment below!
“Dare to live the life you have dreamed for yourself. Go forward and make your dreams come true.”